-
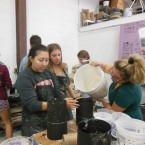
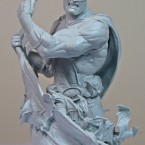
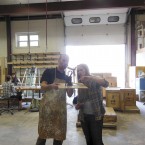
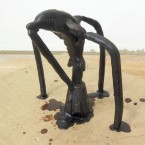
Beth Cavener Stichter process images
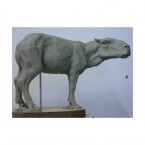
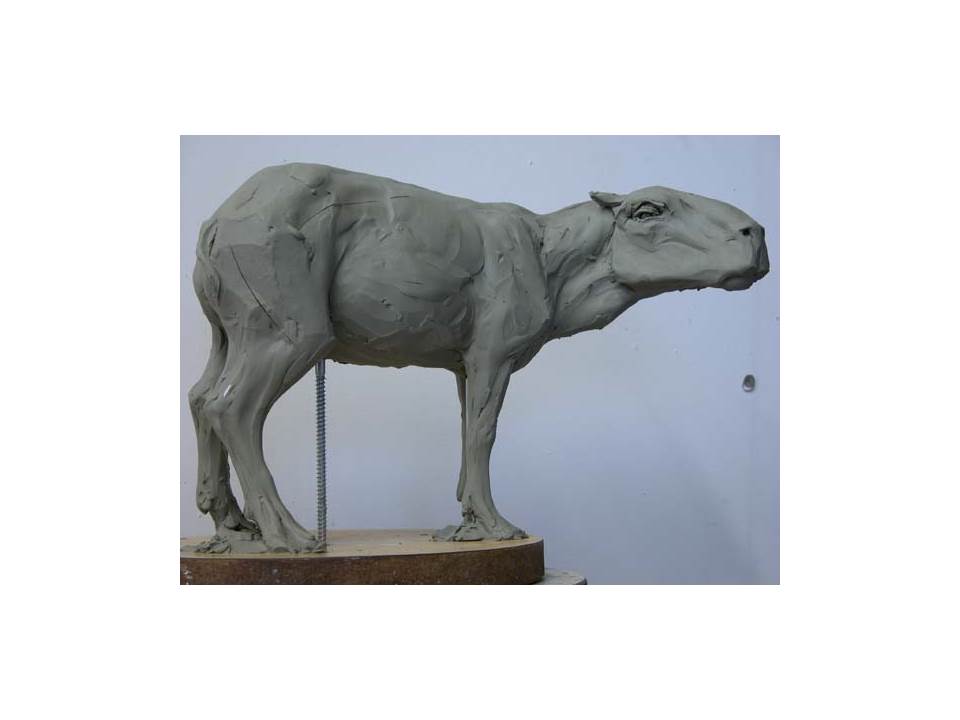
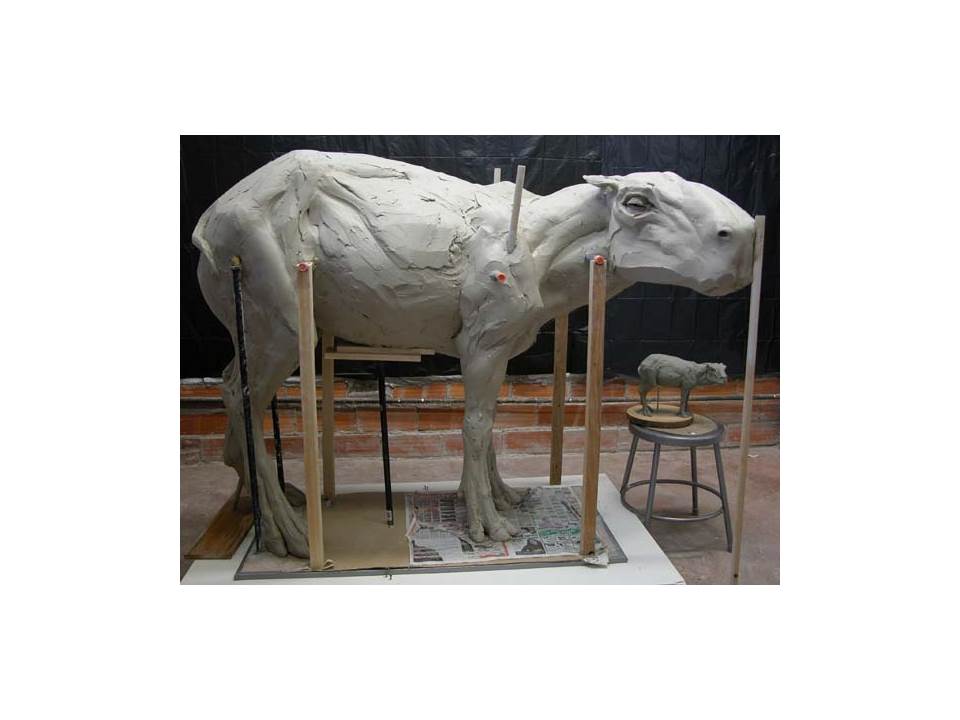
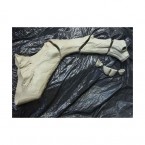
Artist begins with a small scale maquette. Notice the high level of detail. 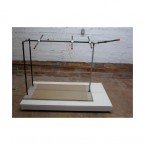
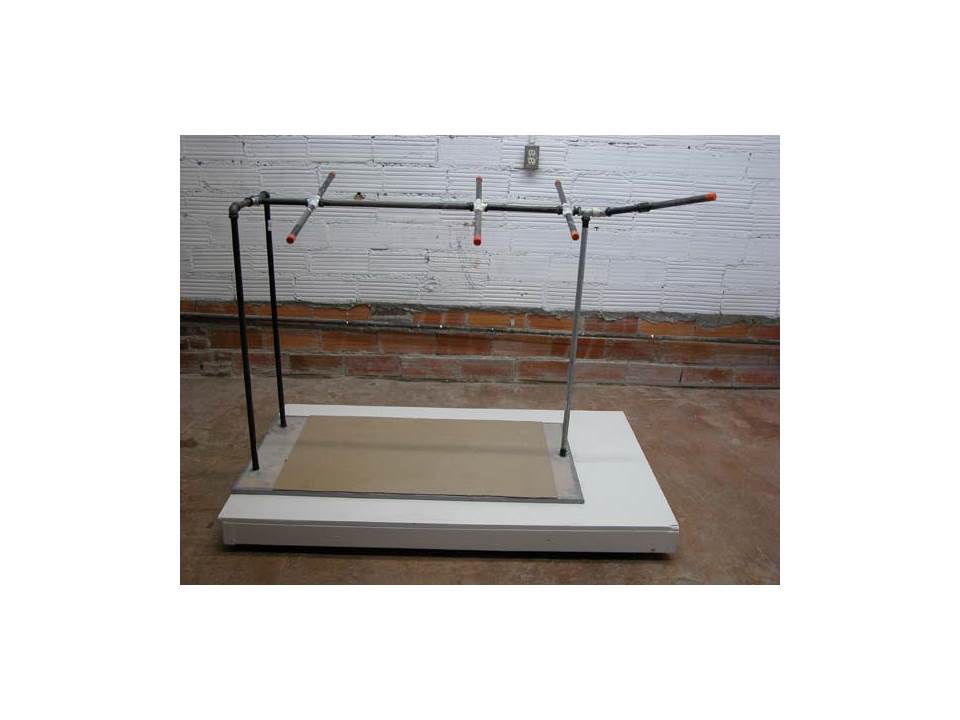
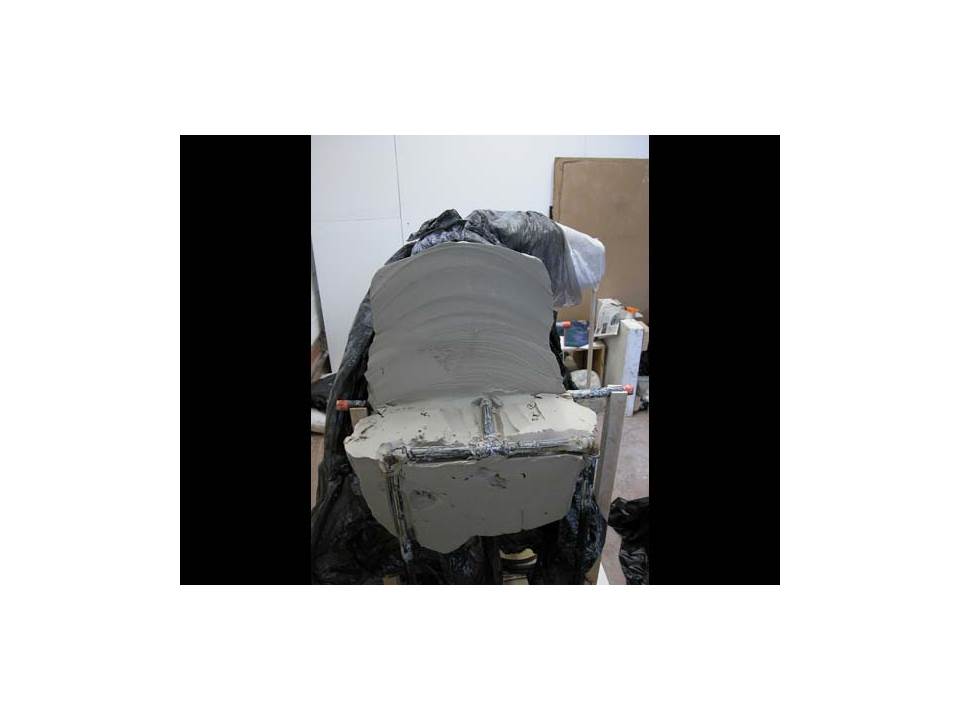
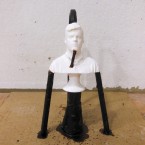
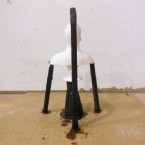
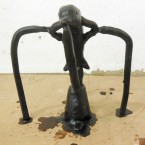
The artist builds an armature to help support the weight of the clay 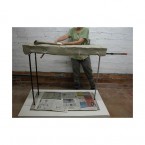
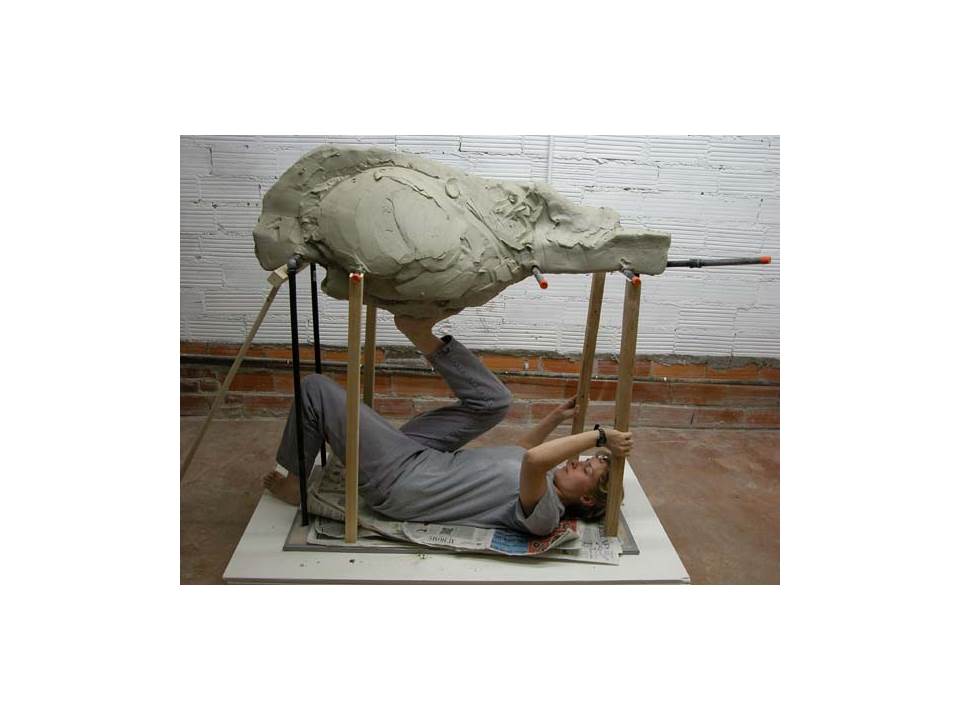
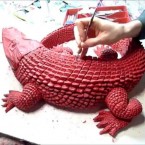
Clay is added 
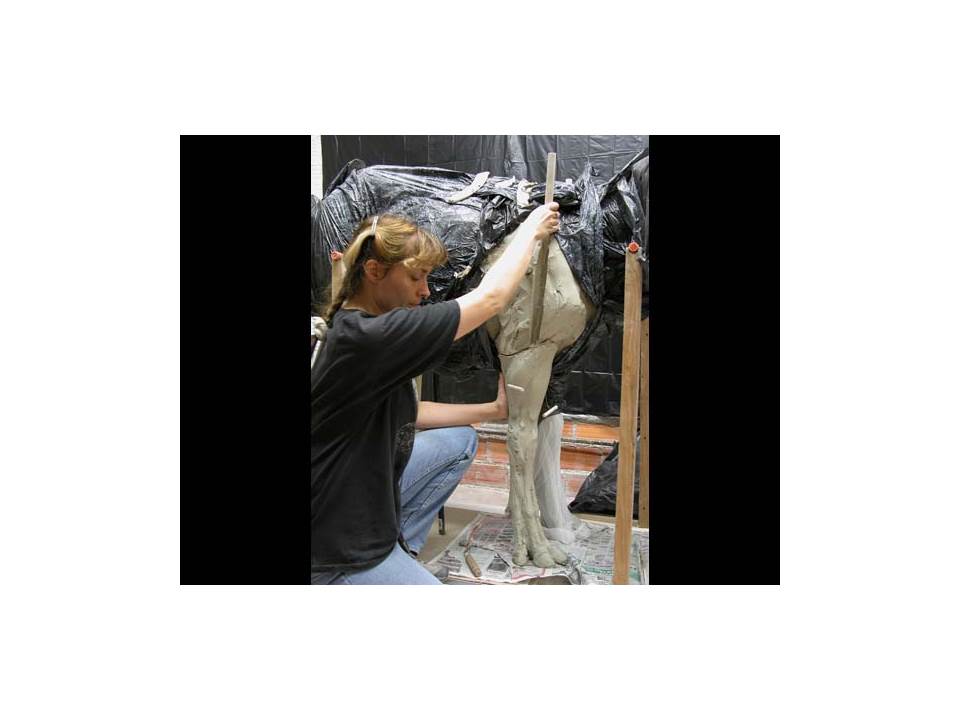
To create a good bond, a great deal of COMPRESSION is needed. 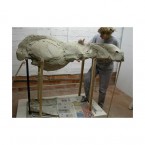
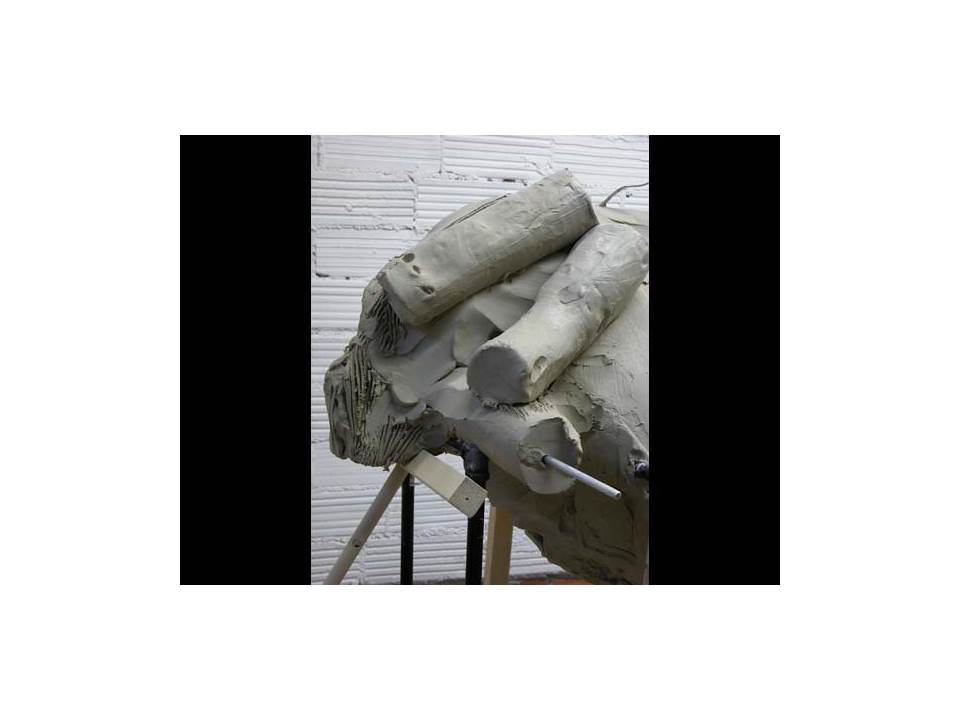
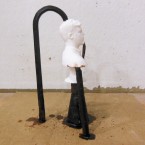
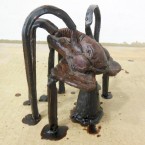
The artist adds a temporary support under the creature’s snout. As the clay dries it will become more rigid and the support will no longer be necessary. 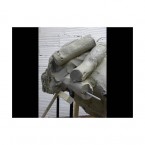
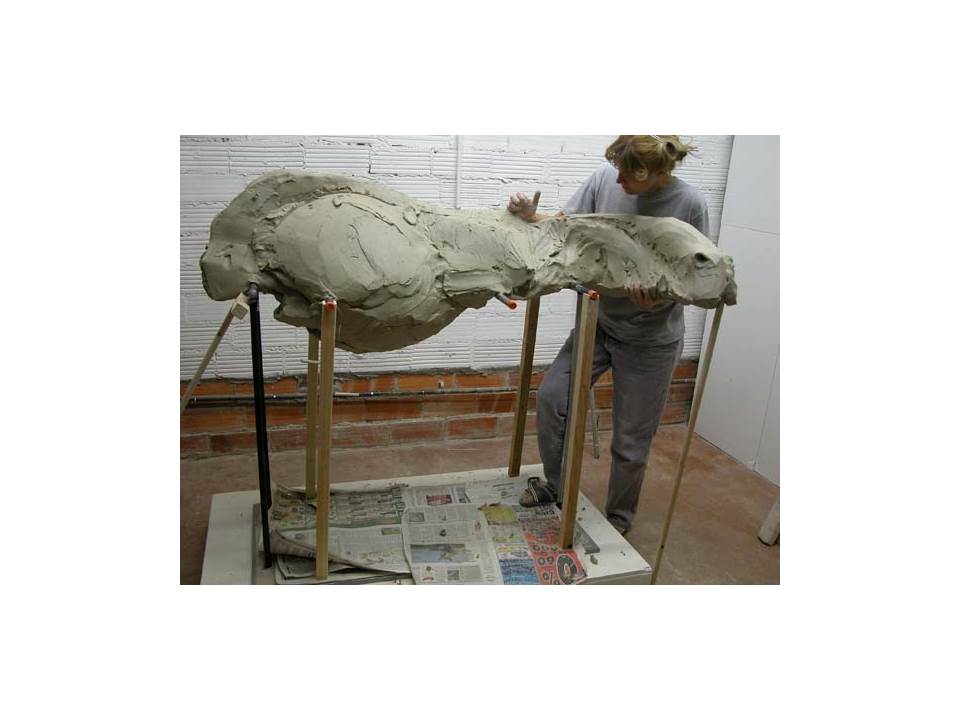
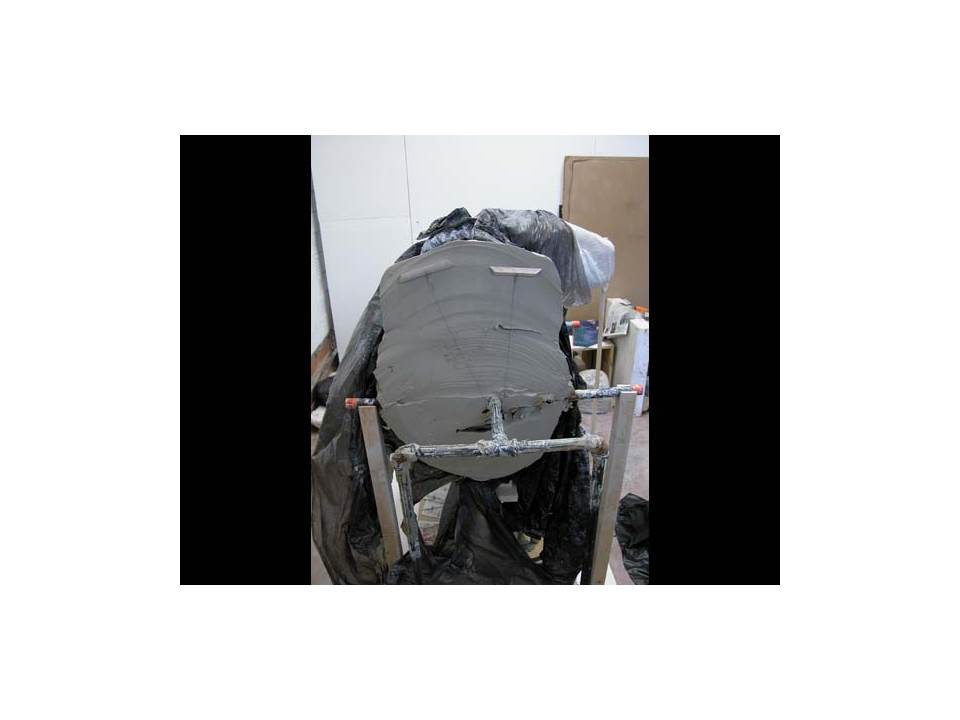
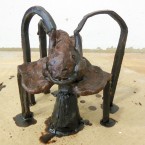
The artist continues to add clay 
Notice how the artist works from many points of view. This is important for 3d artists — it enables us to understand the form and make effective improvements. 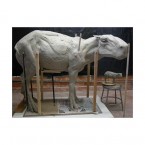
The rough sculpting of the form is finished. Now the artist allows the clay to dry to the leather hard stage to make it stronger. 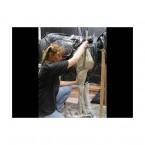
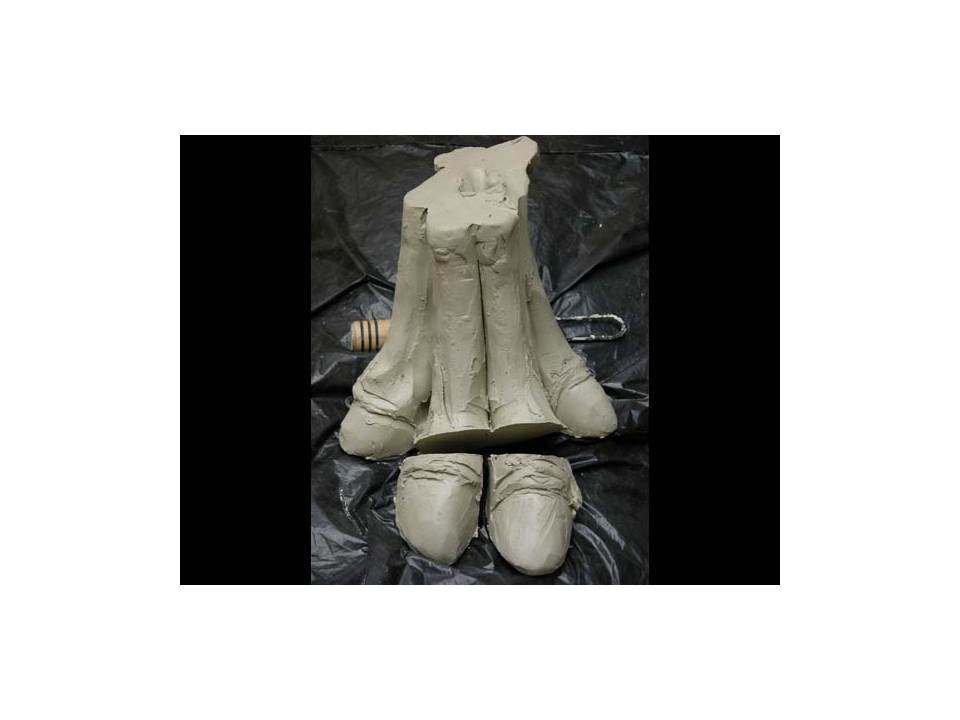
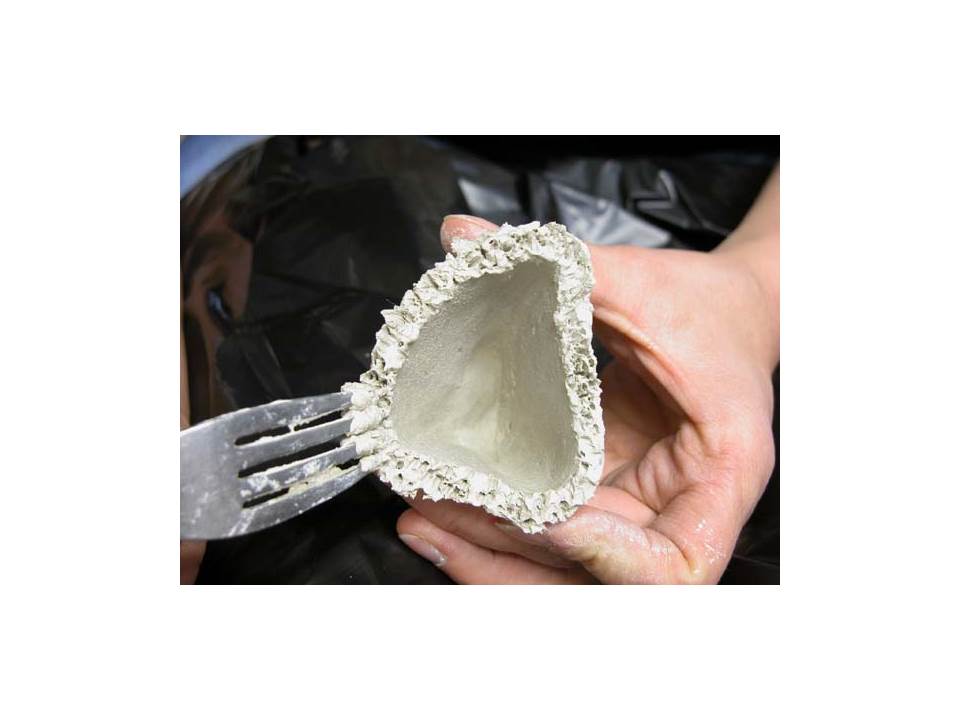
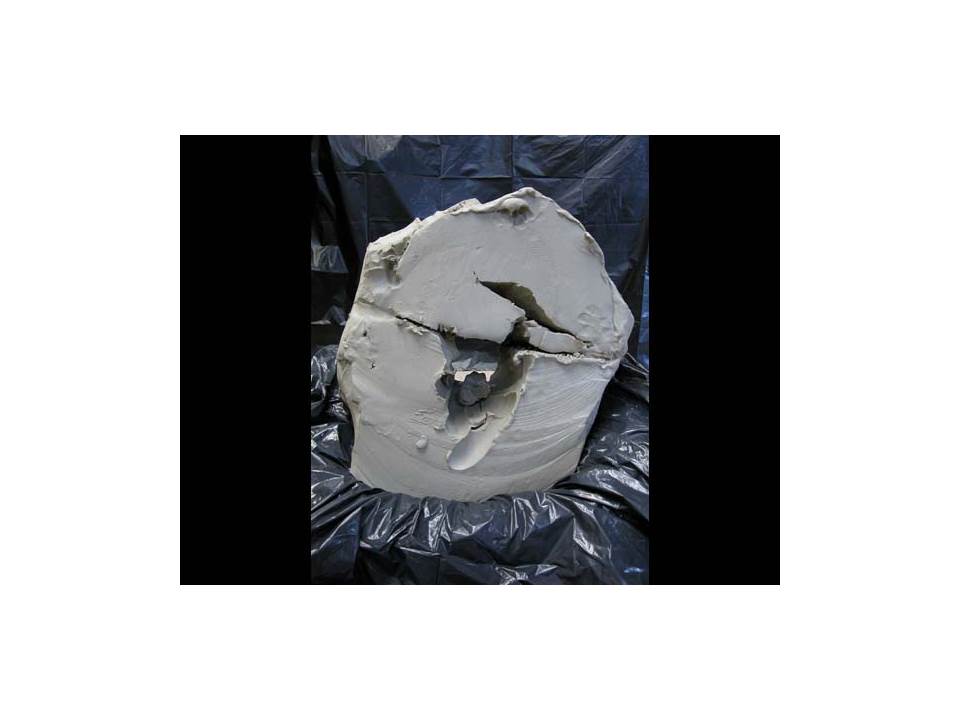
The artist cuts the form up into manageable parts. 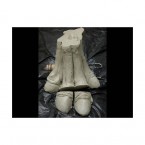

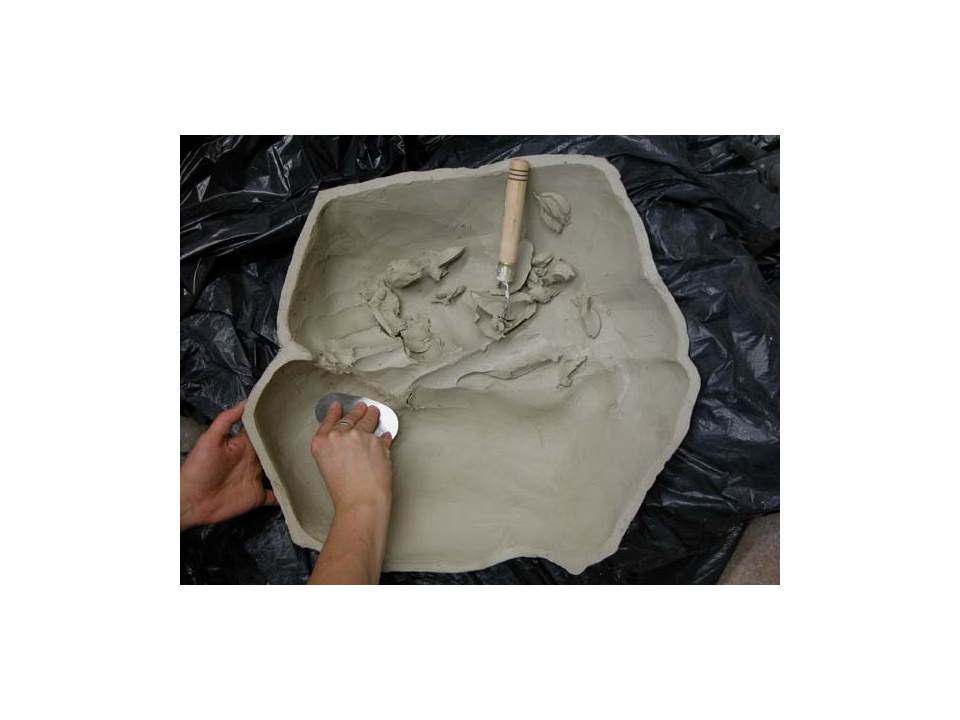
The artist hollows out the form. Notice the consistent wall thickness. In your own project you should strive for a wall thickness of 1/2 to 3/4 of an inch — about the thickness of your thumb. 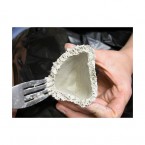
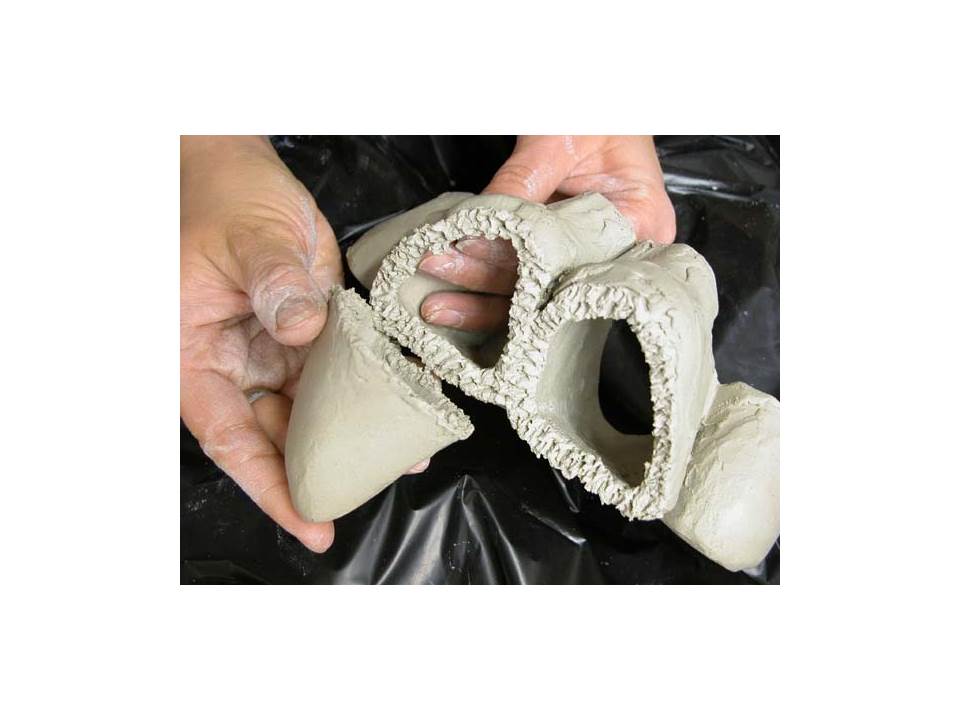
Now that all of the parts are hollow, the artist puts everything back together. 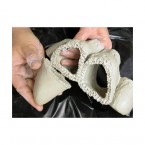
To create a good bond it is necessary to slip and score both sides. A great deal of pressure is also required. The artists will squeeze the parts together with a firm grip and a lot of fussing over details. Failing to be thorough with this step could result in a catastrophic collapse of the form later. 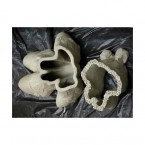

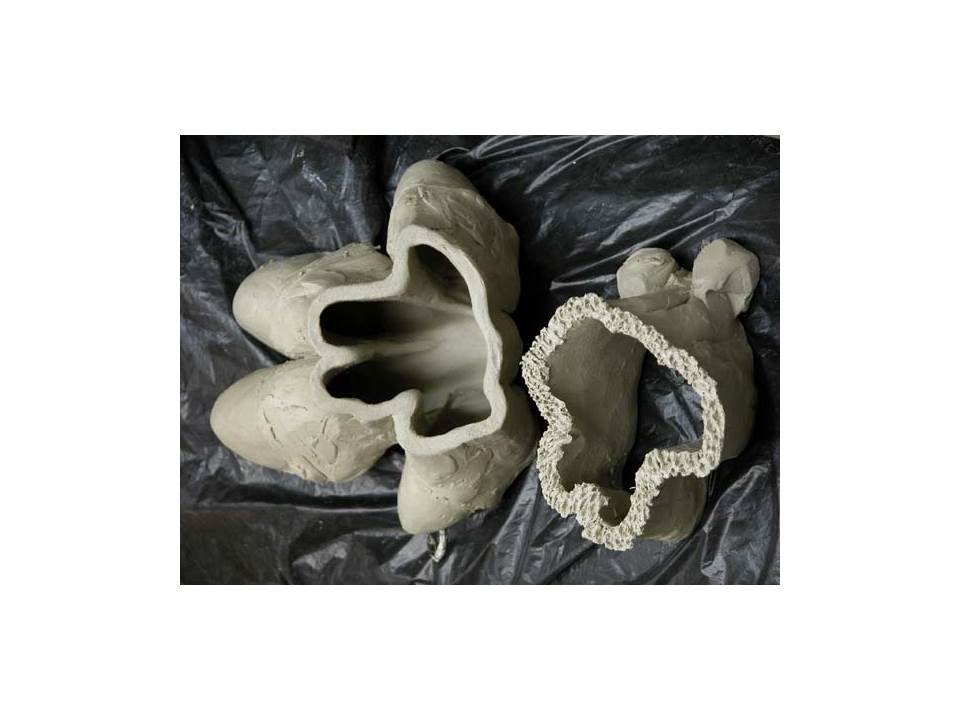
This is the a part of the creature’s abdomen. Notice that the artist has chosen to leave a wall inside to increase the form’s strength. 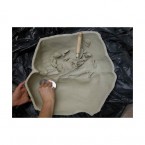
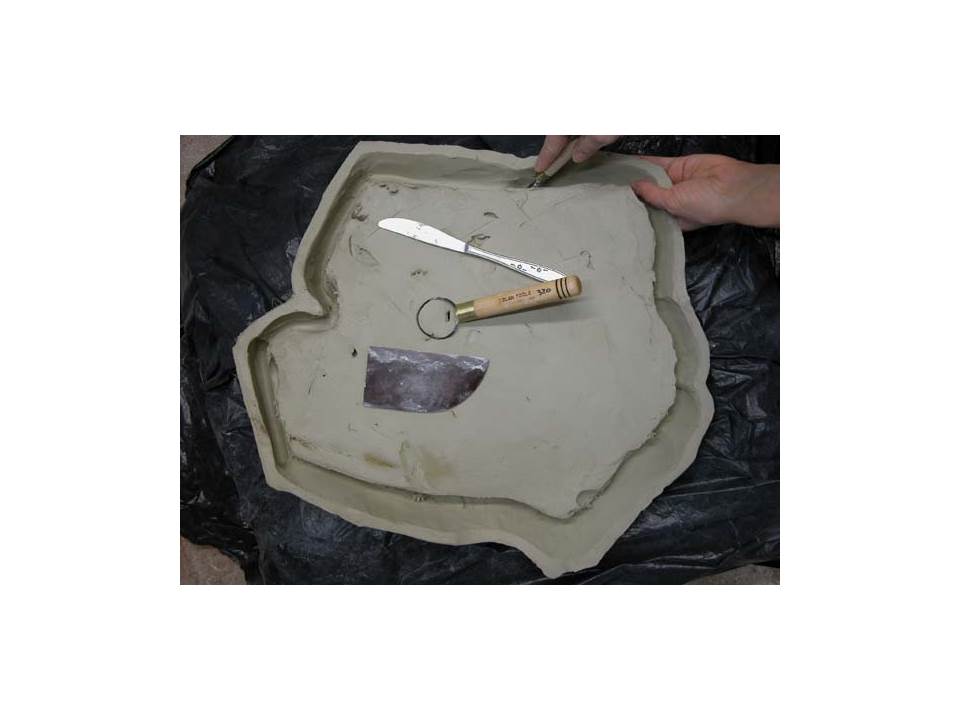
The artist flattens the wall to ensure a consistent wall thickness. 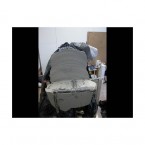

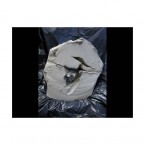
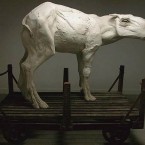
The finished result. The artist delights in a job well done.
-
Keypad code for the Sculpture Lab is: 4050#
-
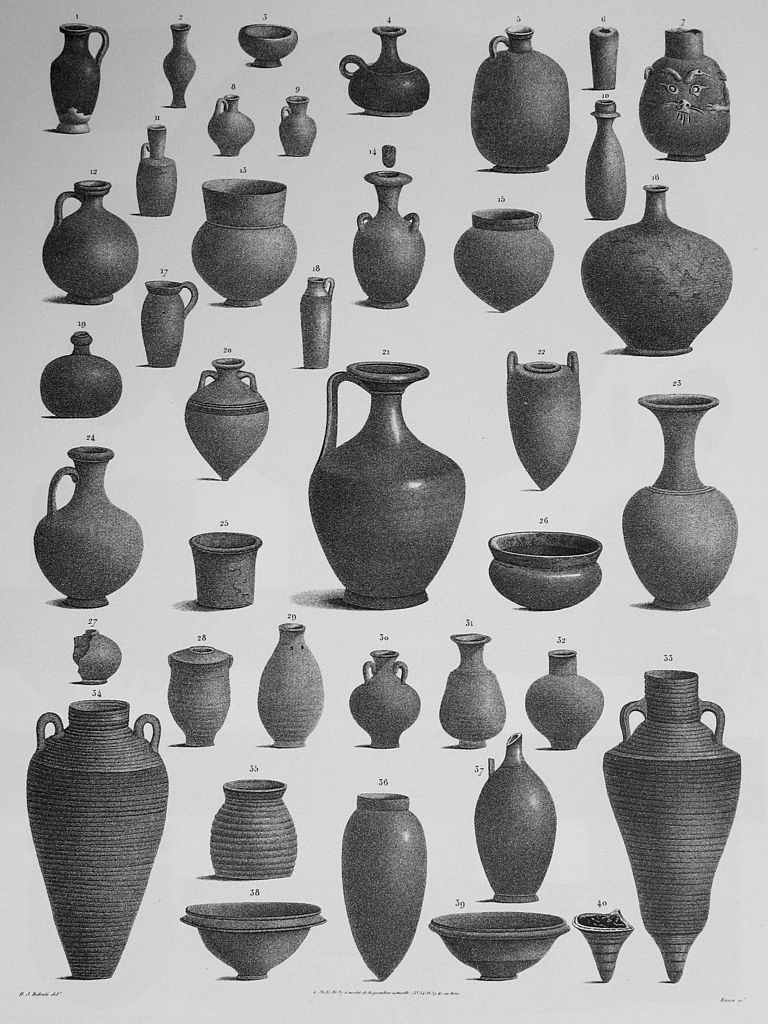
clay pot designs


-
Tom Sachs Ten Bullets
https://www.youtube.com/watch?v=cPFCKIXLCM4
-
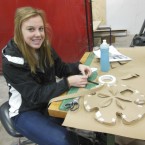
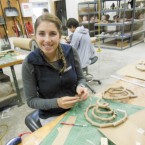
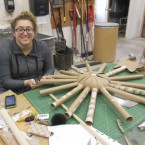
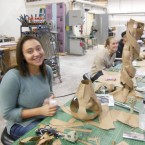
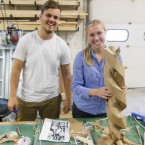
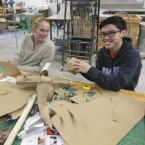
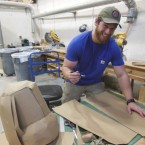
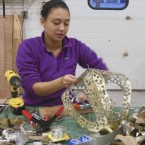
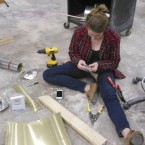
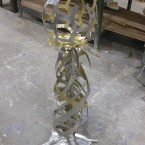
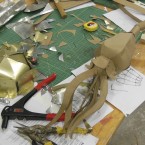
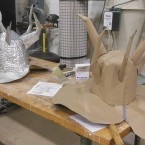
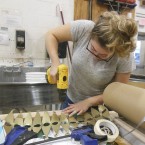
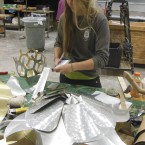
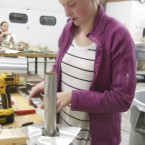
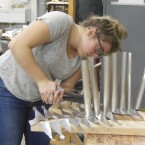
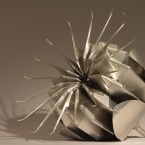
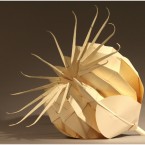
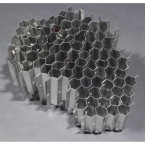
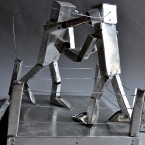
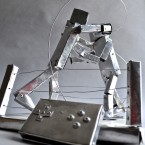
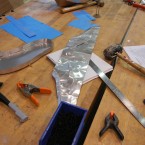
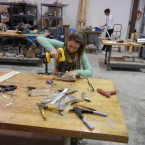
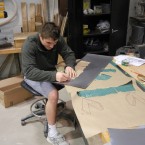
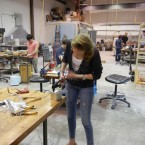
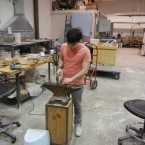
Progress photos of sheet metal radiolarians
-
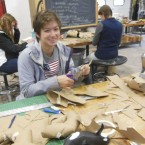
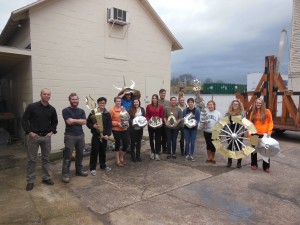
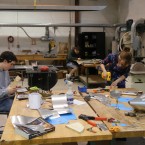
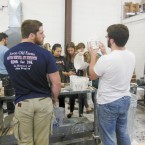
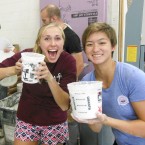
Group Photo
-
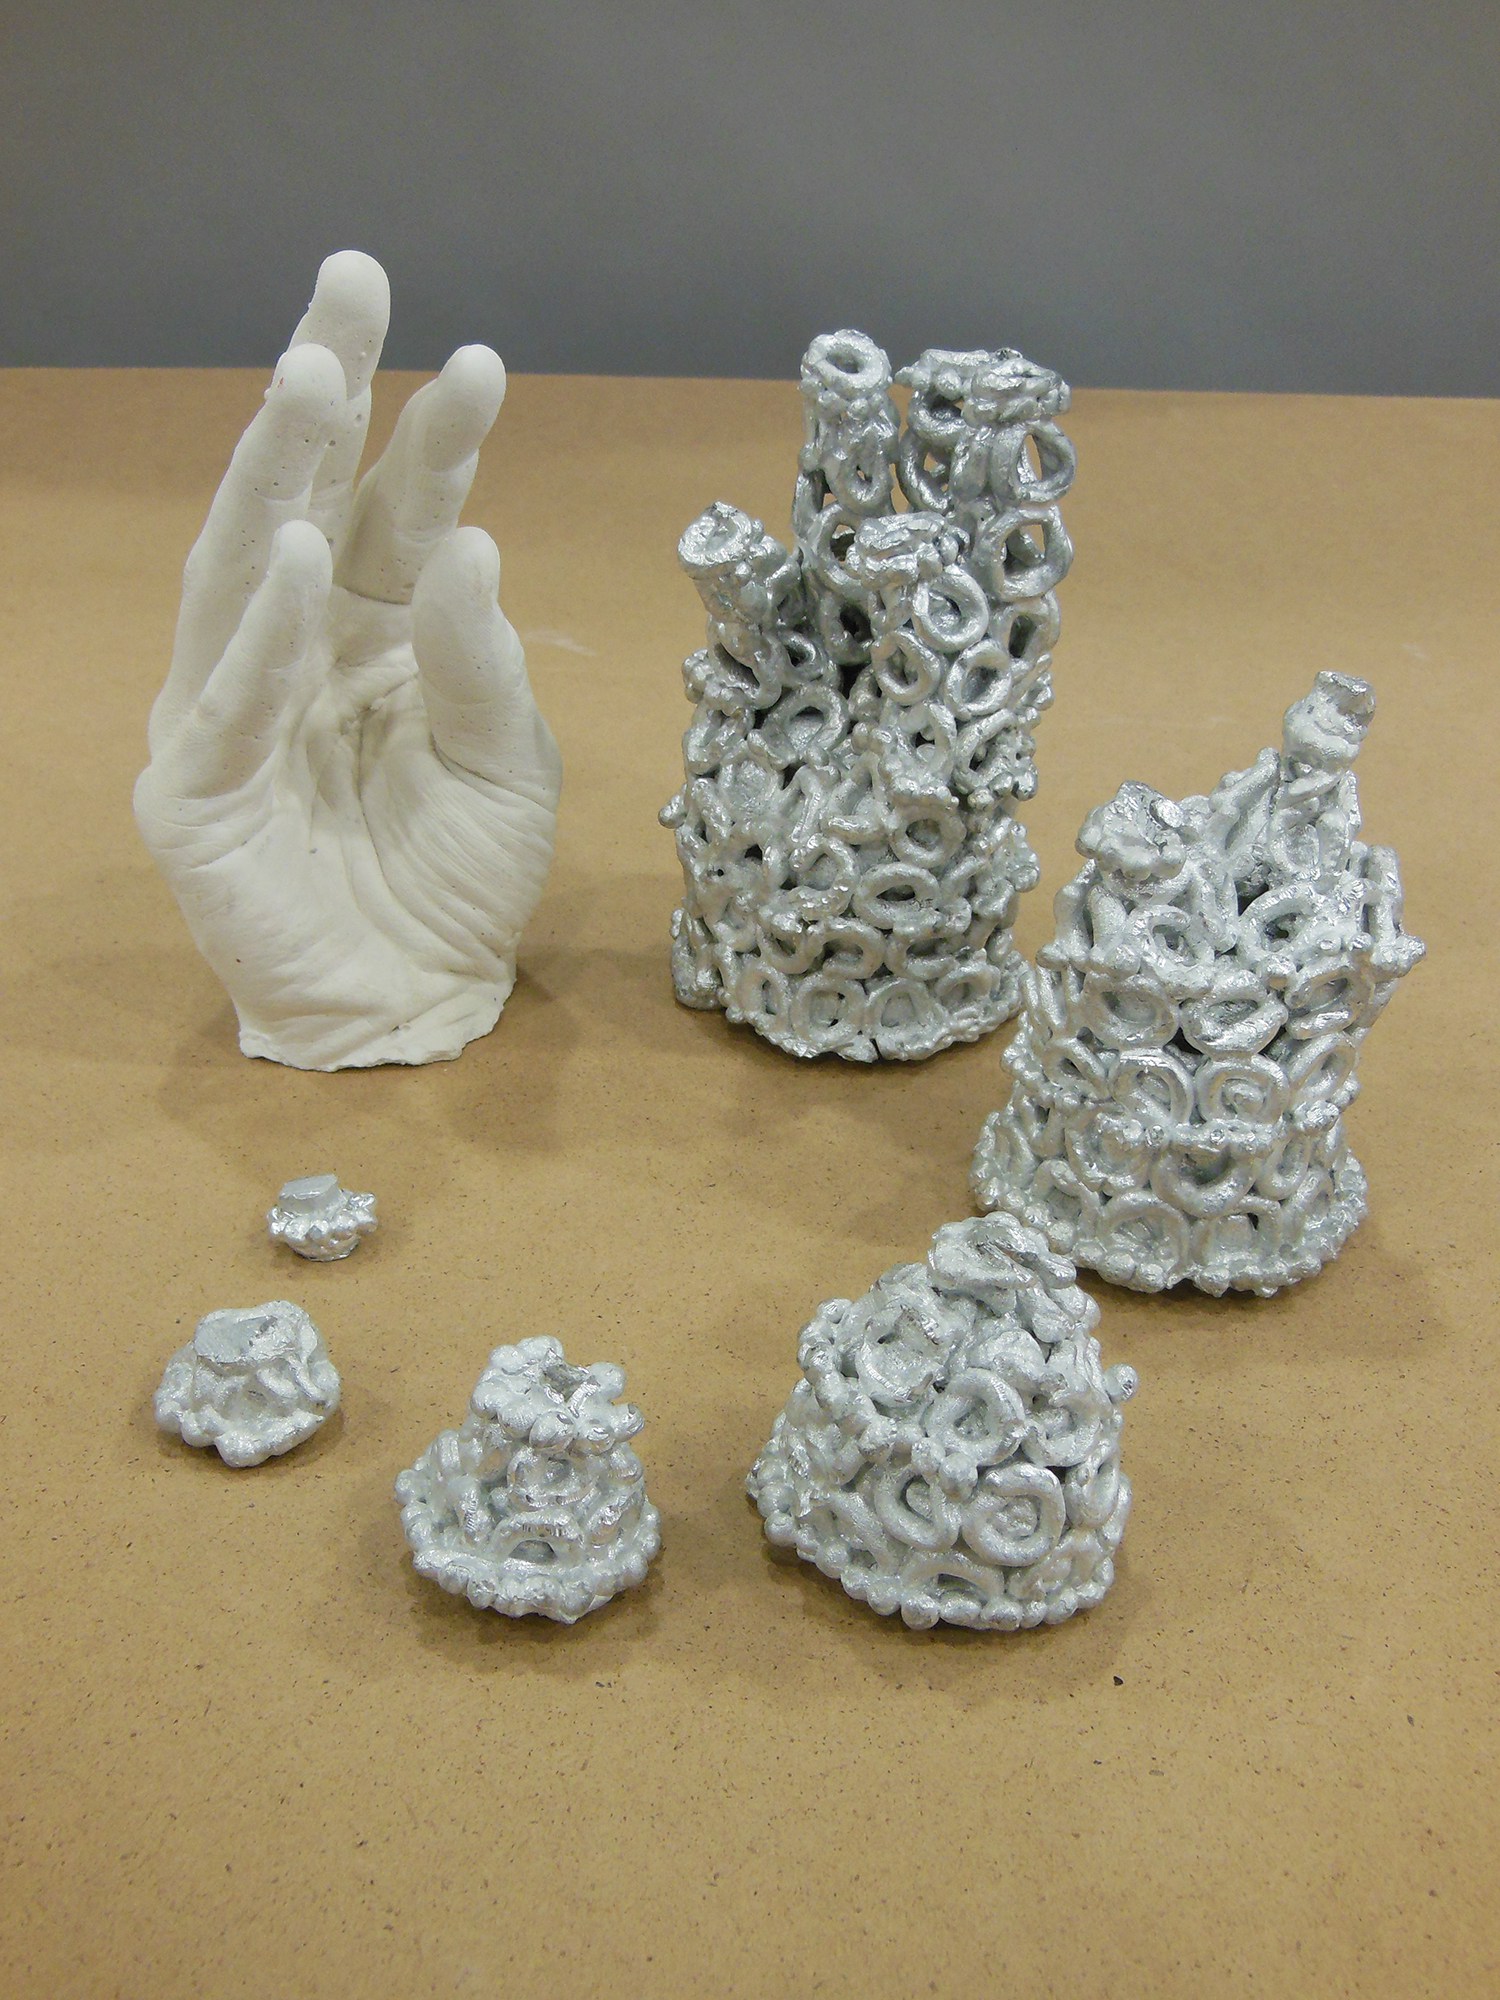
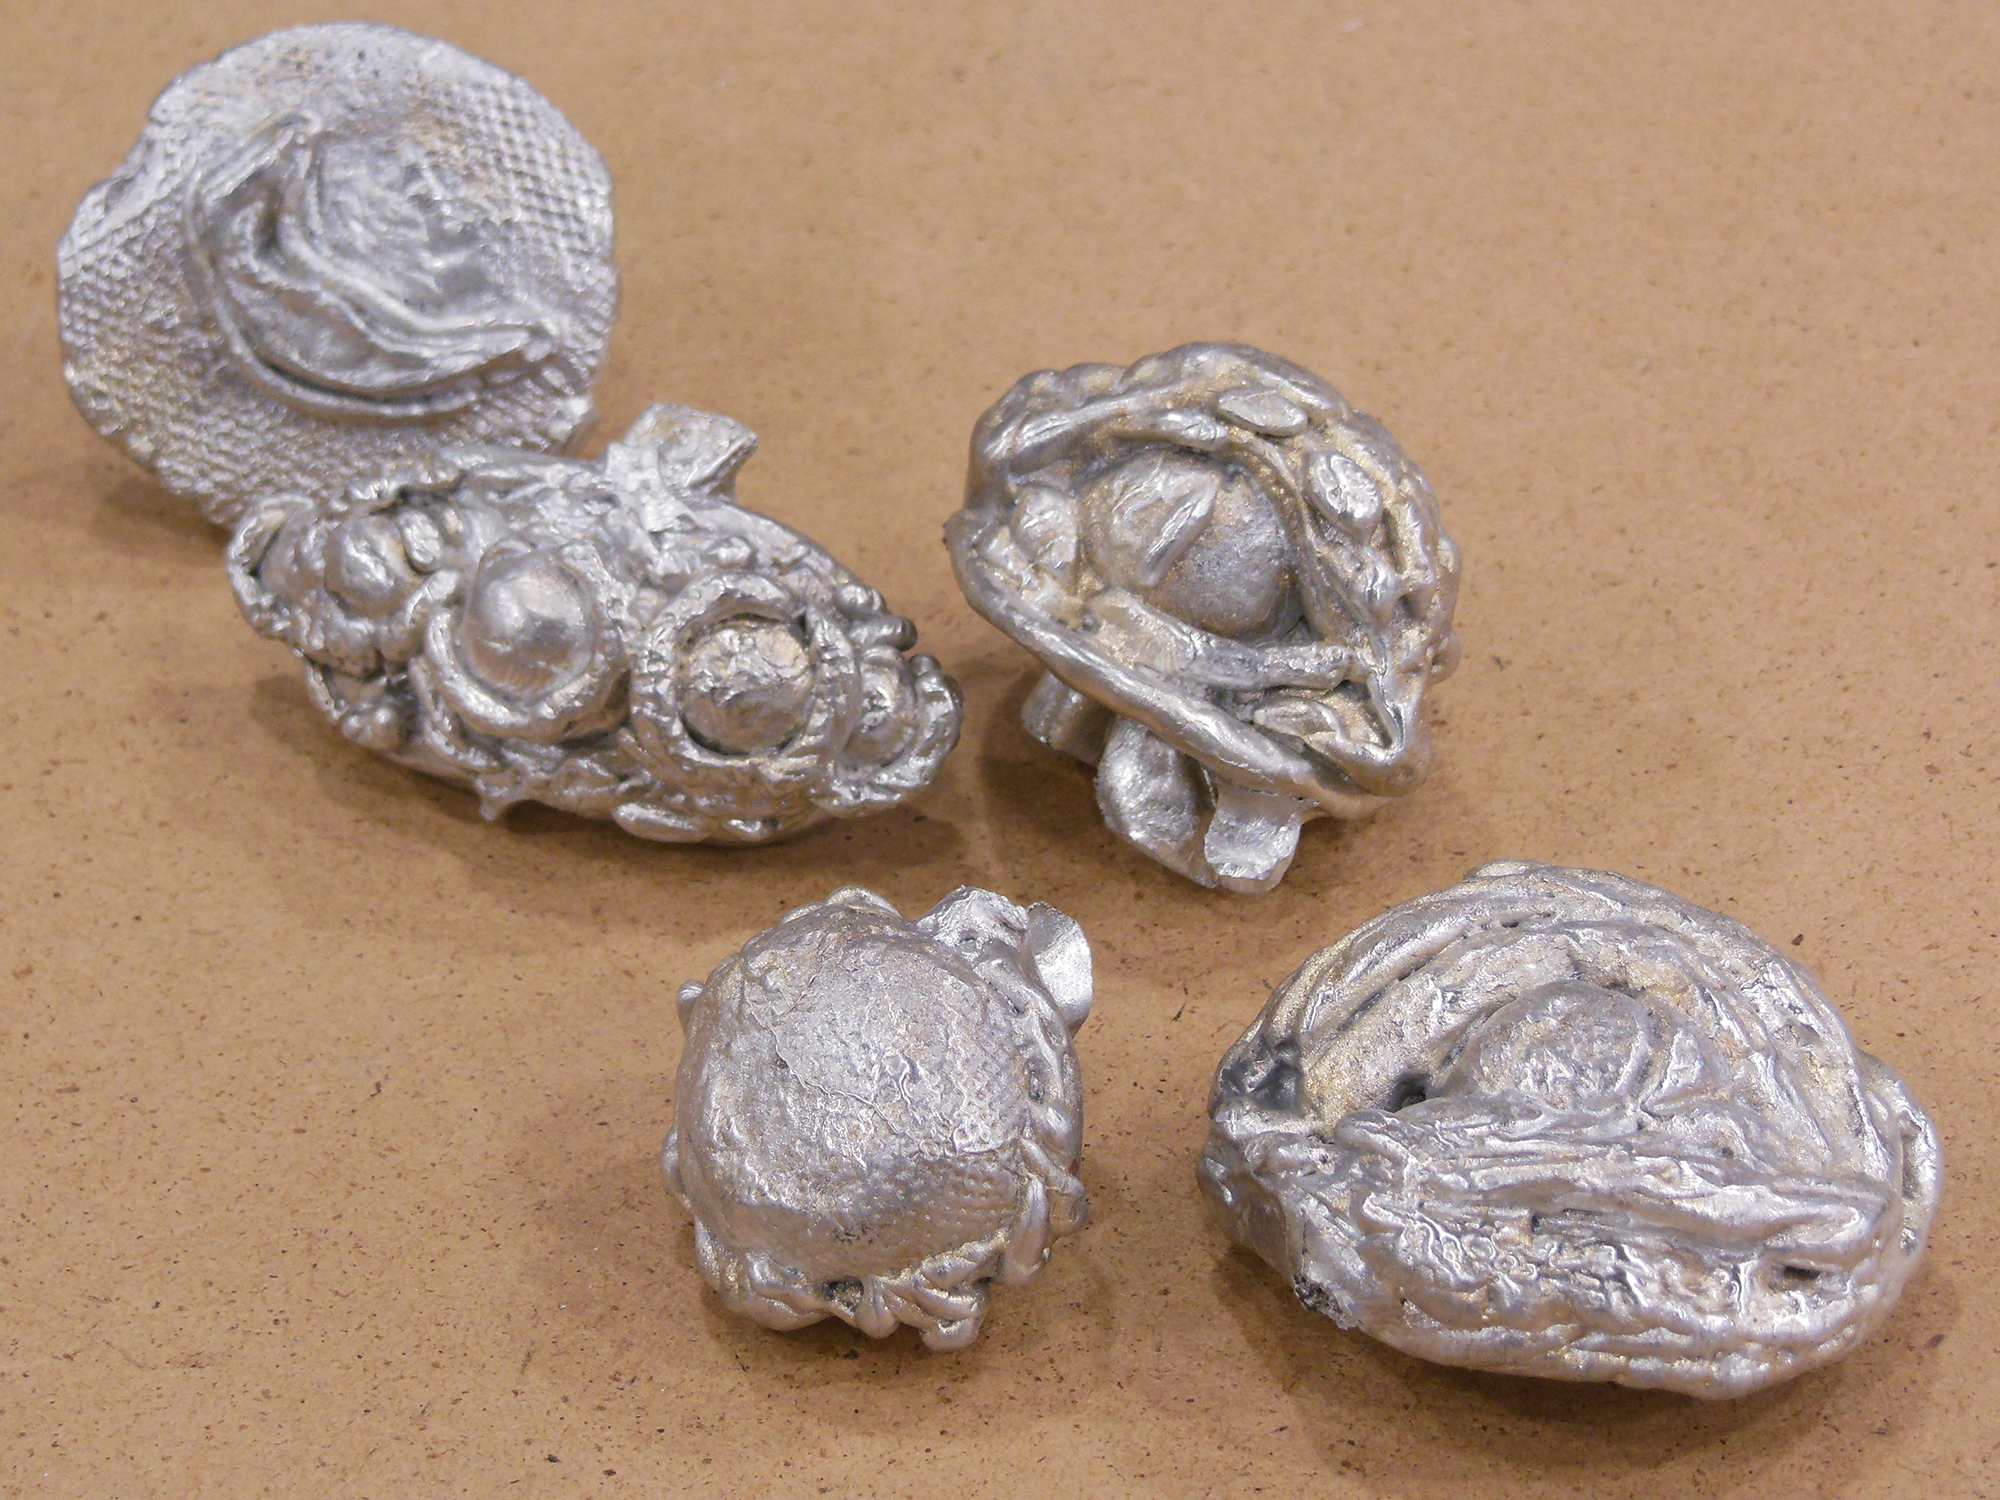
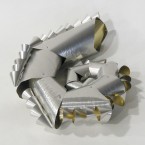
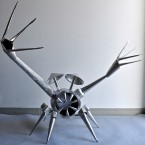
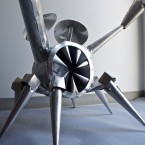
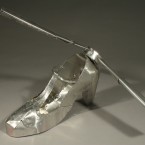
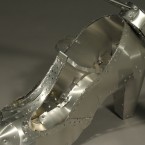
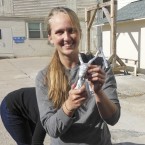
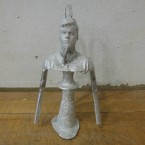
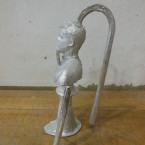
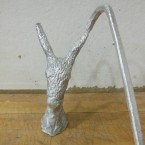
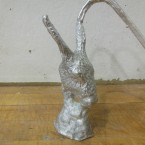
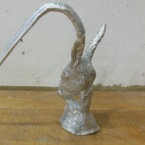
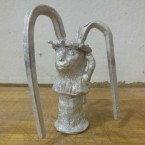
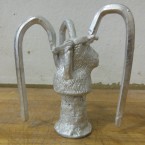
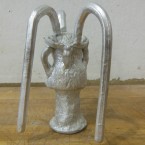
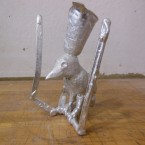
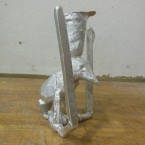
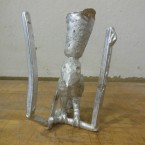
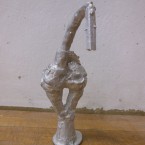
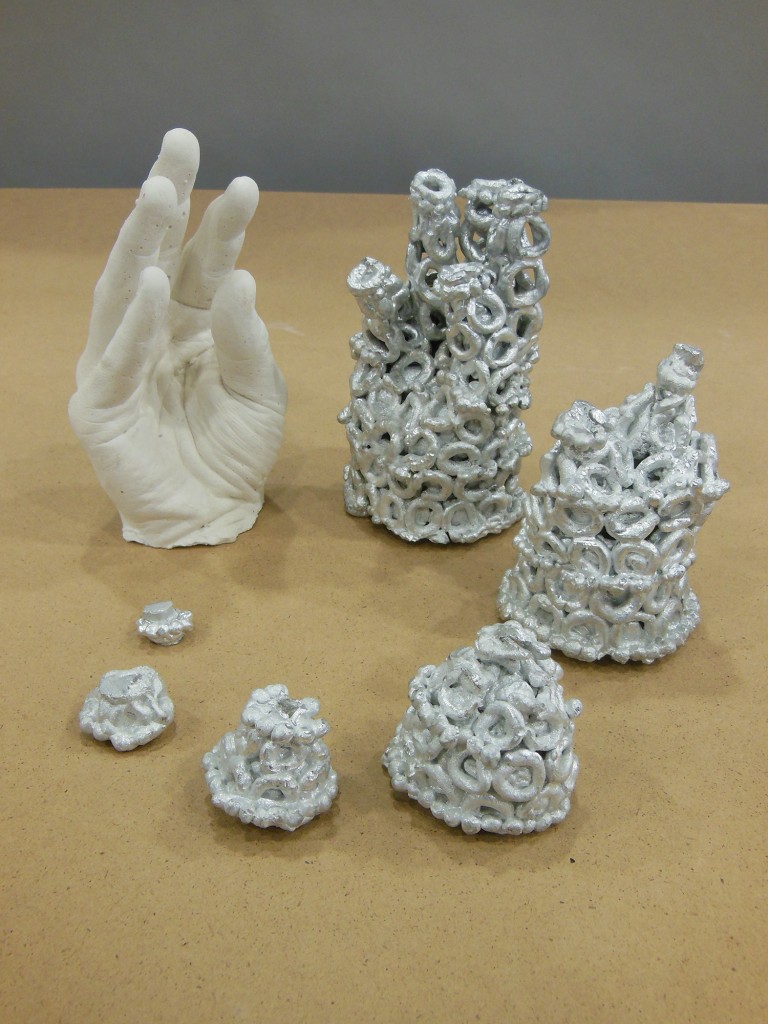
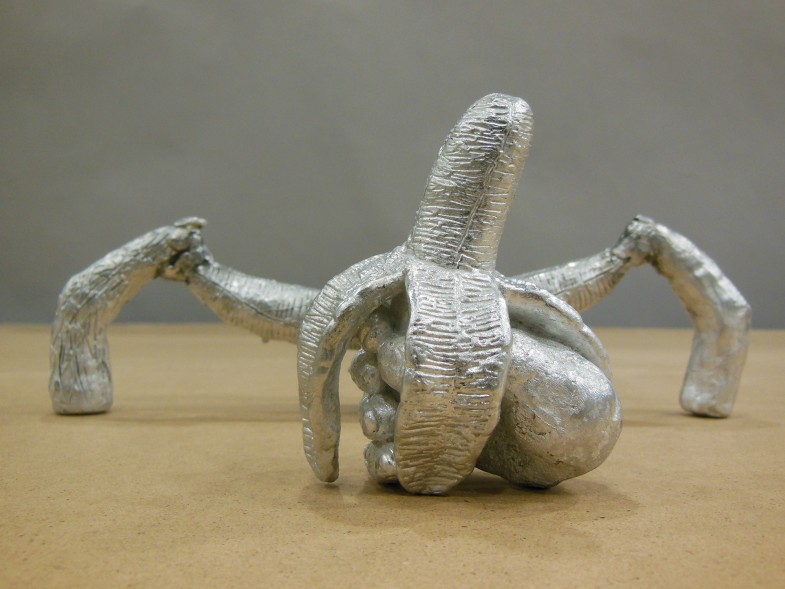
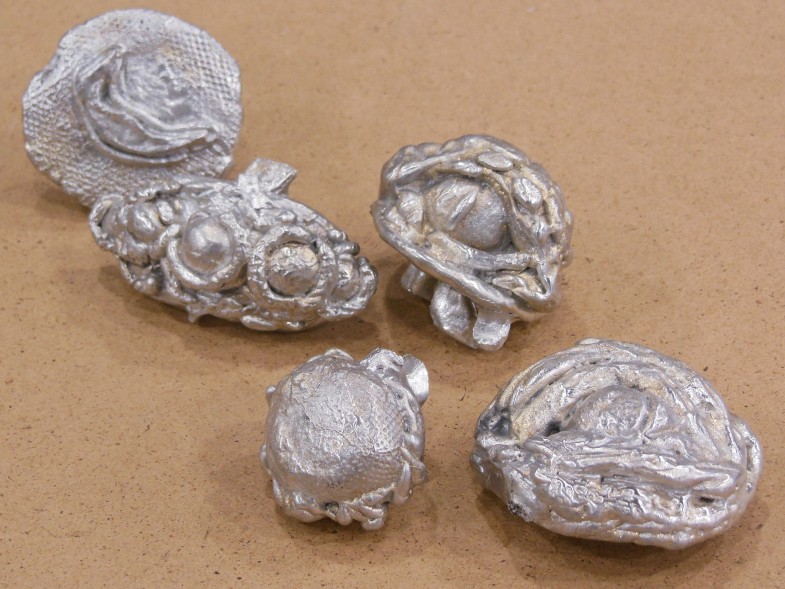
Aluminum Radiolarians
Steph Boyd 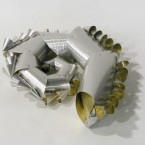
Steph Boyd 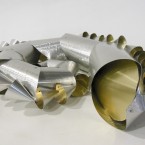
Steph Boyd 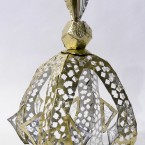
Seneca Burgess-Norman 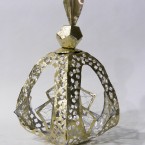
Seneca Burgess-Norman 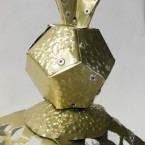
Seneca Burgess-Norman 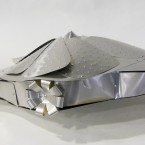
Sarah Denning 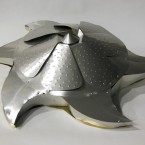
Sarah Denning 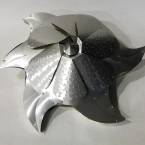
Sarah Denning 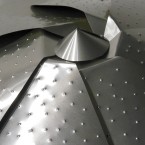
Sarah Denning 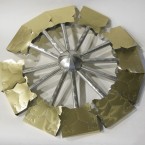
Dana Donato 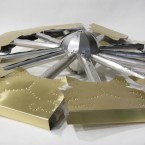
Dana Donato 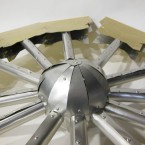
Dana Donato 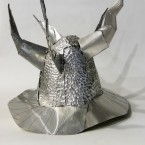
Liam Gilbert 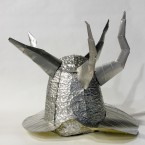
Liam Gilbert 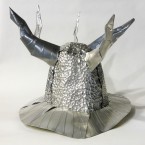
Liam Gilbert 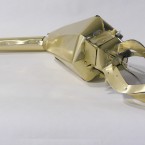
Branden Hing 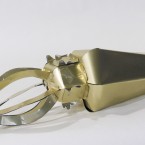
Branden Hing 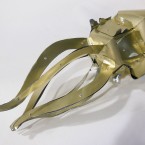
Branden Hing 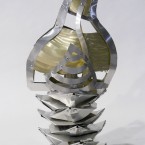
Kate Keller 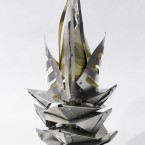
Kate Keller 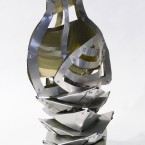
Kate Keller 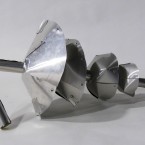
Paige Kim 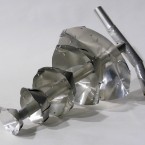
Paige Kim 
Paige Kim 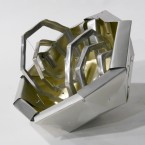
Amanda McCabe 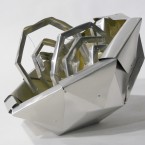
Amanda McCabe 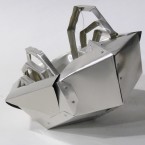
Amanda McCabe 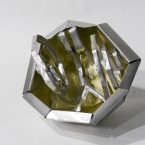
Amanda McCabe 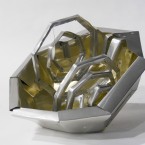
Amanda McCabe 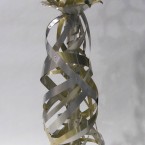
Amy Patterson 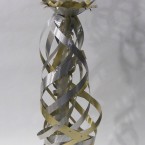
Amy Patterson 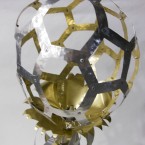
Amy Patterson 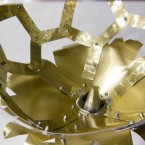
Amy Patterson 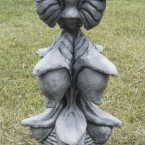
Daniel Flinchbaugh 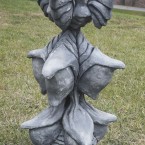
Daniel Flinchbaugh 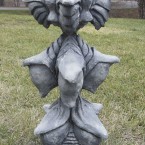
Daniel Flinchbaugh 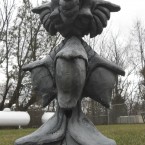
Daniel Flinchbaugh
-
Waste Mold Casting Method – Daniel Flinchbaugh

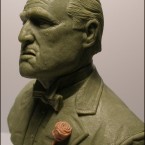
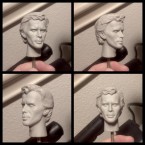
This is the portrait bust I am casting. 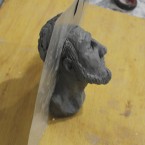
But first it is always good to do a small scale test when trying out casting processes. This is my test, a small clay sculpt. The shim line, where the cast will split apart, is simple and flat.With such a small sculpture, casting it is very simple. You start by making a batch of plaster, while it is still runny you can flick, drizzle, or brush on the plaster. This will capture the details. As it hardens and begins to get the consistency of mashed potatoes, begin to build up the cast until it is about two inches thick. Be sure to level off the plaster on the shim metal so it is easier to line them up in the coming steps. 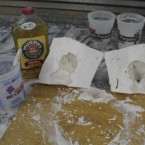
After the plaster has set and is no longer warm, use several flat screwdrivers or similar flat wedge objects in several places around the shim line and begin to pry open the sculpture. This may take a lot of work, especially if there are several undercuts. The faster you do this process, the warmer the clay will be and hence easier to pull apart. If you leave the clay inside the cast for longer than a few days, the cast will be very hard to pull apart. Paint on two coats of Murphy’s oil soap to act as the mold release. 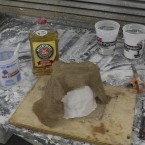
Use plaster soaked burlap to hold the molds together. Be sure to soak and ring out the burlap in water before putting it in plaster, this will prevent the burlap from soaking up the water in the plaster that the chemical reaction of the plaster needs. 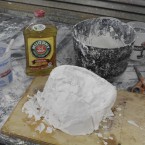
The plaster soaked burlap is holding the sides together. 
While the easiest way to cast is to pour it solid, there are several methods of casting once you get your waste molds. I chose to pour a solid hydrostone cast because of the small size. 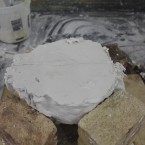
The hydrostone is poured and setting. 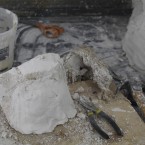
Once the cast has set and cooled. Begin the demolding process. First take off the burlap and remove the rails or materail near the edge. Once removed, be careful and take off the rest of plaster with a screwdriver and a hammer. 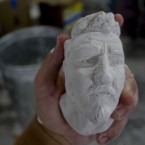
My finished product came out well. There were no problems with the mold relaese or the material. Other than a lost ear, it came out well. Touching up hydrostone can be fixed with regular plaster as long as you wet the surface you are applying the plaster to. 
Due to the gesture of the bust, the shim line curved to avoid undercuts. 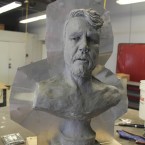
It looks strange from the front. The shim metal should stick out several inches and be equal throughout. 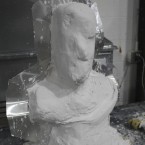
After building up a pinkey’s width of flash coat on your sculpture, you have the option to apply a 1:10 ratio of oil soap to water with a touch of paint to the cast. This will allow for an easier time demolding because as you demold the thicker coat of plaster will break off easier and you can then see how close you are to the cast. When applying this solution, be sure to keep 2 inches away from edges as the solution will make the mold weaker and the edges will be more likely to break. I did not have access to anything to color the solution hence why you cannot see it here. 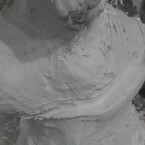
Here you can see the process of building up the thicker coat, about two fingers thick, thinner or thicker may be needed depending on the sculpture and anticipated stresses on the mold. Building it up like bricks, allows you to maintain a equal thickness. Use plaster the consistency of mashed potatoes in order to create shapes easier. 
You can see the mashed potatoe plaster layer is adding to the thickness of the cast. 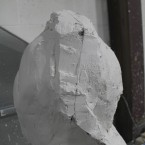
Once the thicker layer has been applied, rails are added. Plaster is put on the edges and come up to the edge of the shim metal. These rails will greatly increase the strength and durability of the mold. Strength and durability is needed in order to keep the mold intact through the opening of the mold. Use mashed potatoes plaster here as well to easily build forms. 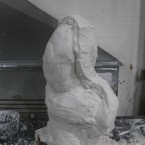
Be sure that the top of the rails have been leveled of so the metal shim can be seen. This will be the guide to show you where to put the screwdrivers to open it up. 
Similar to the small test, flat head screwdrivers and hit evenly around the rail. As the drivers get deeper, be careful to avoid breaking it. However a crack is not the end of the world. Simple wood glue does wonders to fix simple breaks. 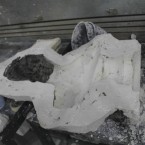
Once open and take the clay out. If you did this process in one go, the clay should still be warm be removed easily. However if you took several days or waited hours between coats, be sure to dampen the plaster before adding additional plaster. This will improve the ability of plaster to stick to the already cured plaster. 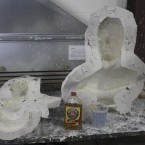
If casting in plaster or hydrostone, two coats of Murphy’s oil soap will work as the release agent. 
Again, use plaster soaked burlap to bond the mold halves together. Once cast using a method of your choice, remove the burlap and then rails. Then take off the thick layer of plaster to expose the flash coat layer. Remove the rest carefull. 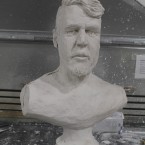
I made my cast using a hollow casting technique that uses a layer of flash coat and layers of burlap before the sides are registered together. Once together, reach in and place plaster soaked burlap to the inside of the bust at the seem lines. 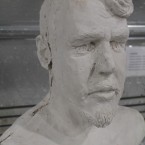
As you can see this technique leaves imperfections along the seem line. This can be fixed with a little extra work. Even with the extra work, the reduced weight from casting it hollow makes it well worth it.
-
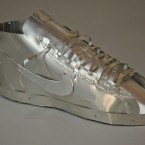
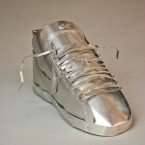
Past sheet metal projects from Sculpture 1


-
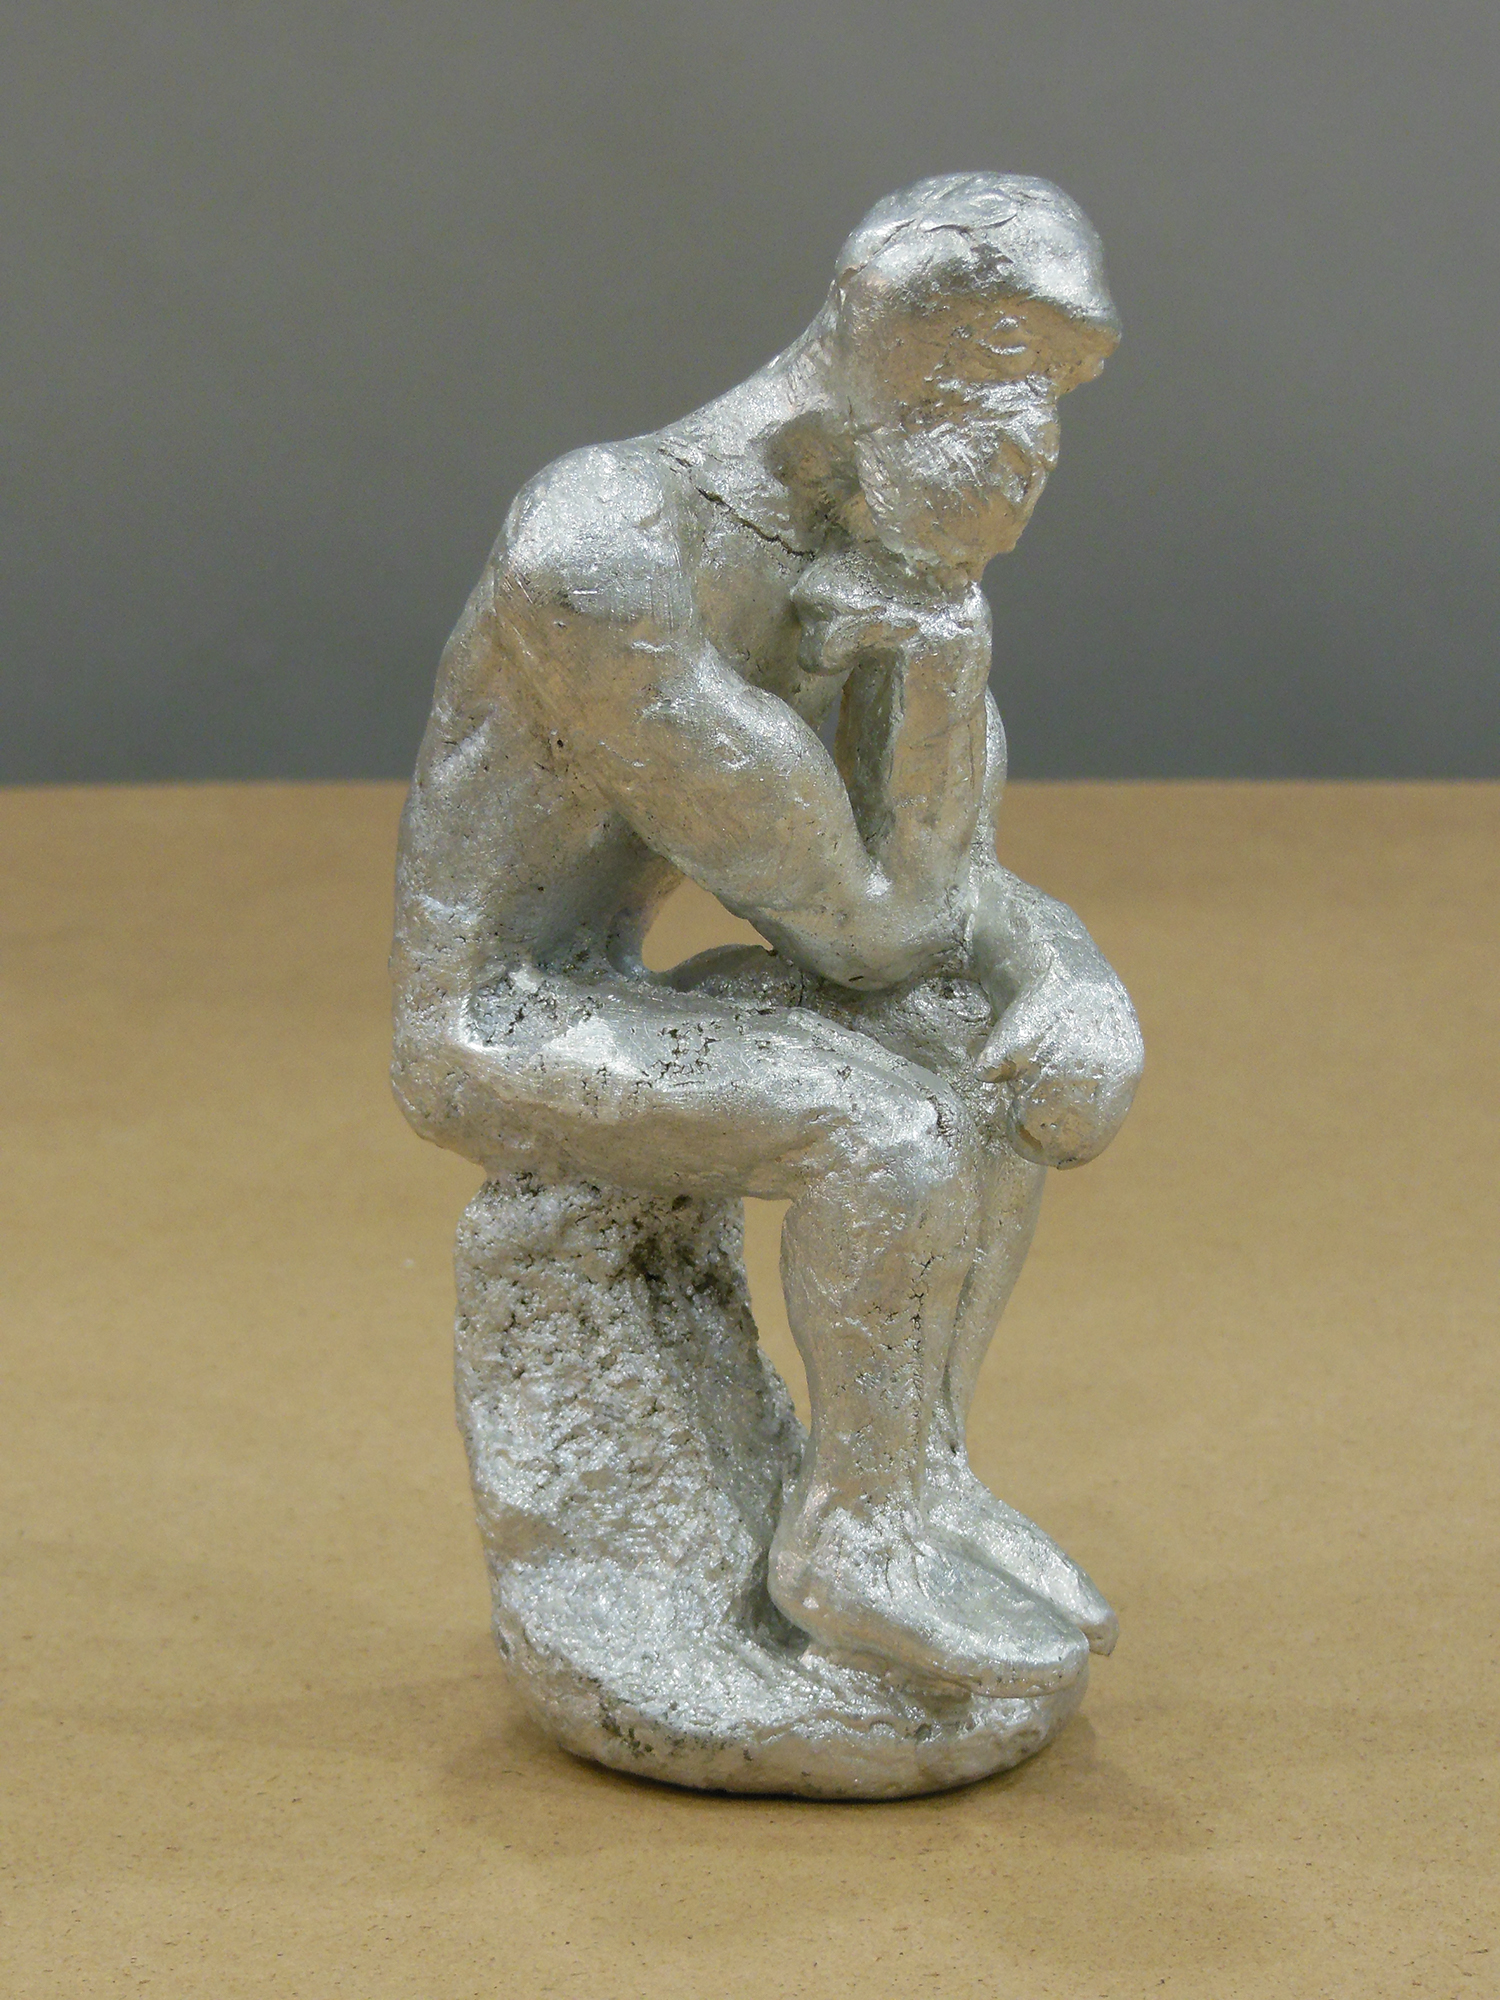
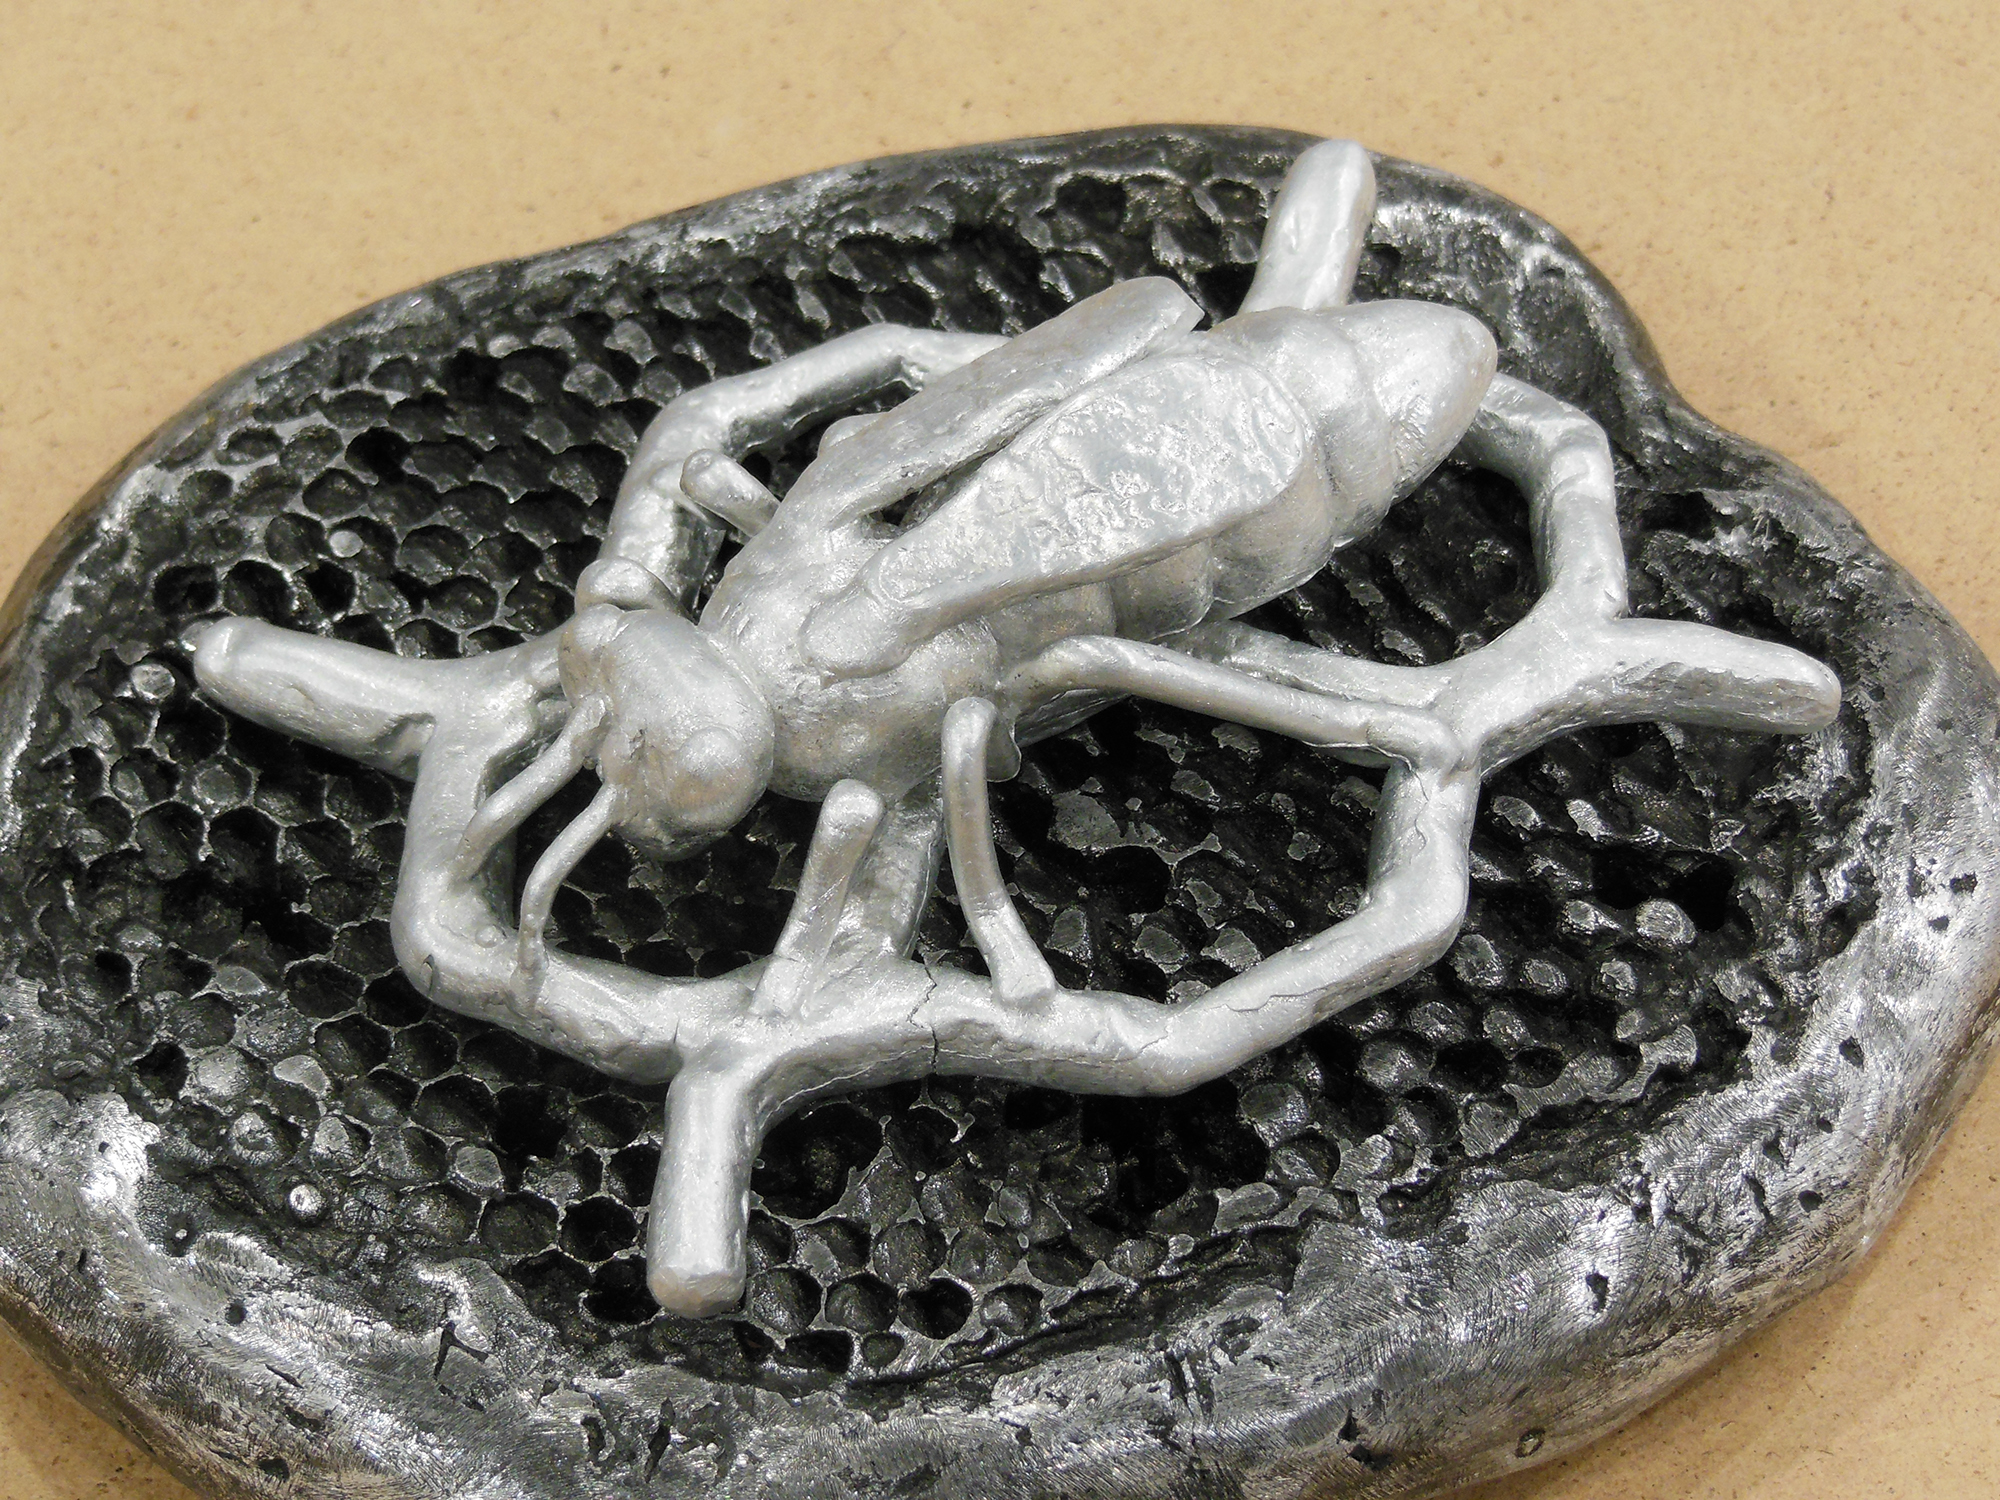
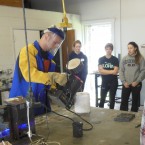
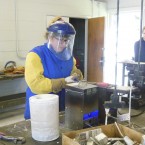
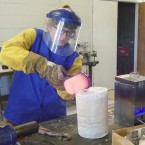
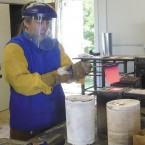
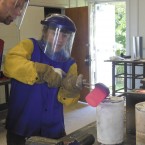
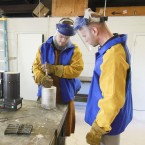
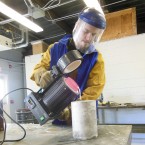
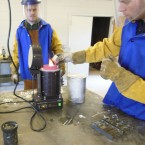
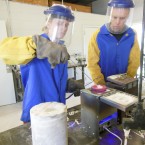
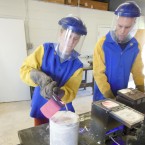
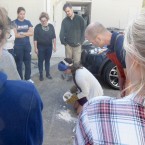
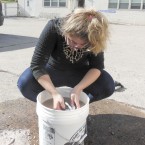
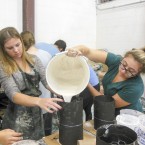
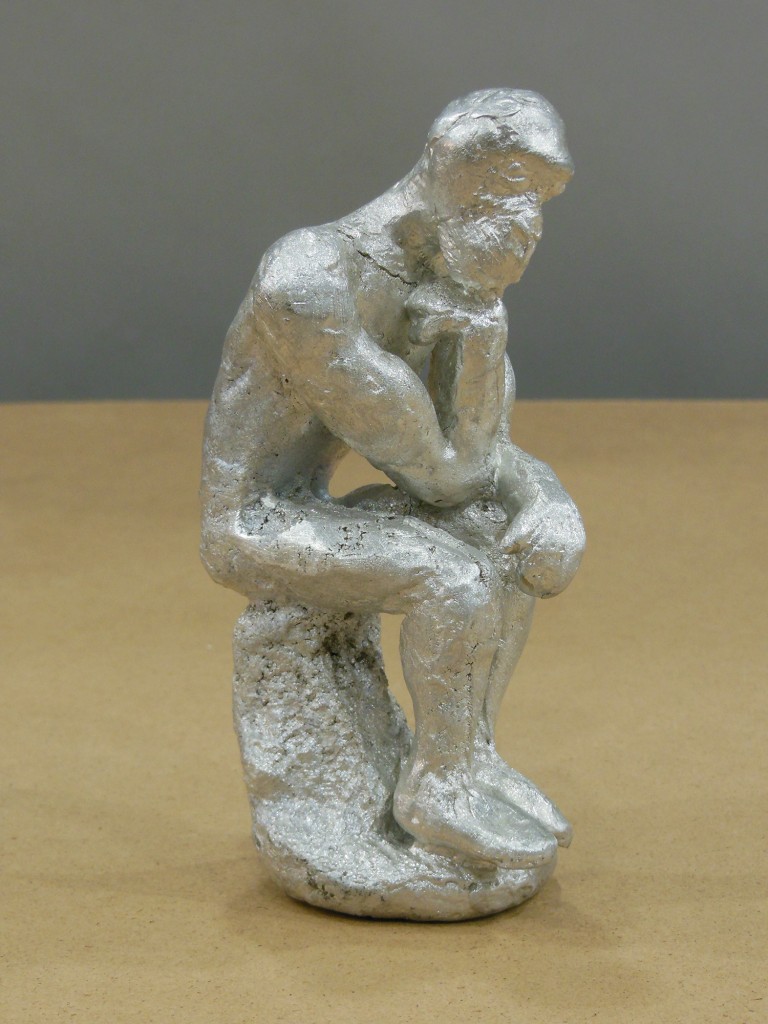
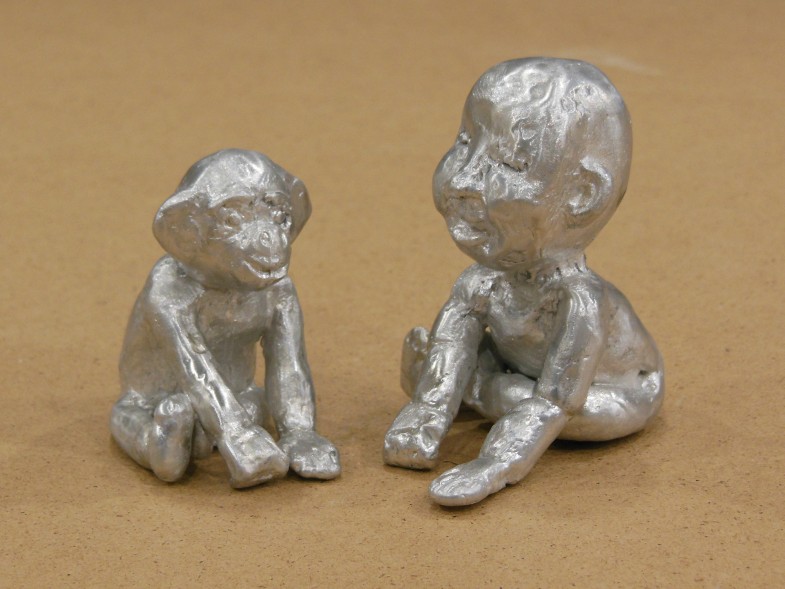
Casting Aluminum


-
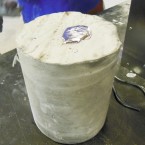
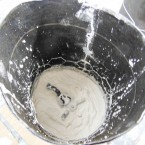
Investing!!!

-
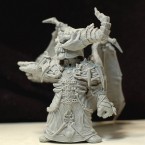
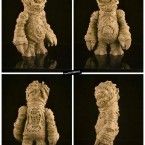
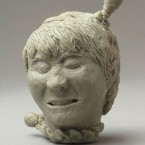
high detail sculpts
OLYMPUS DIGITAL CAMERA 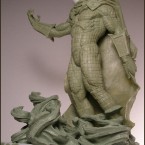
OLYMPUS DIGITAL CAMERA 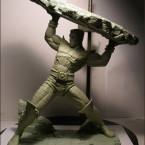
OLYMPUS DIGITAL CAMERA 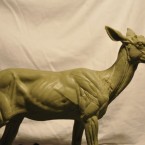


-
video about Sculpco, a toy sculpting company in Cincinnati
https://vimeo.com/8674297
-
Animal Intelligence, Venting Wax Studies


-
examples of Animal Intelligence projects from the fall of 2014

-
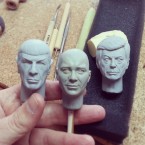
Animal Intelligence project reference
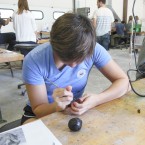
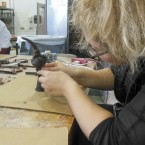
Examples of small-scale wax projects created by students in Sculpture 1. Notice the high level of detail and precision. To achieve results of this quality it’s important to work from good visual references and apply meticulous attention over an extended period of time.

Ai Weiwei – “Zodiac Heads”:
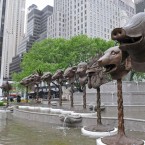


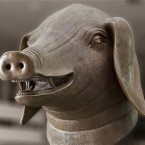


http://www.zodiacheads.com/about_exhibit_bronze.html
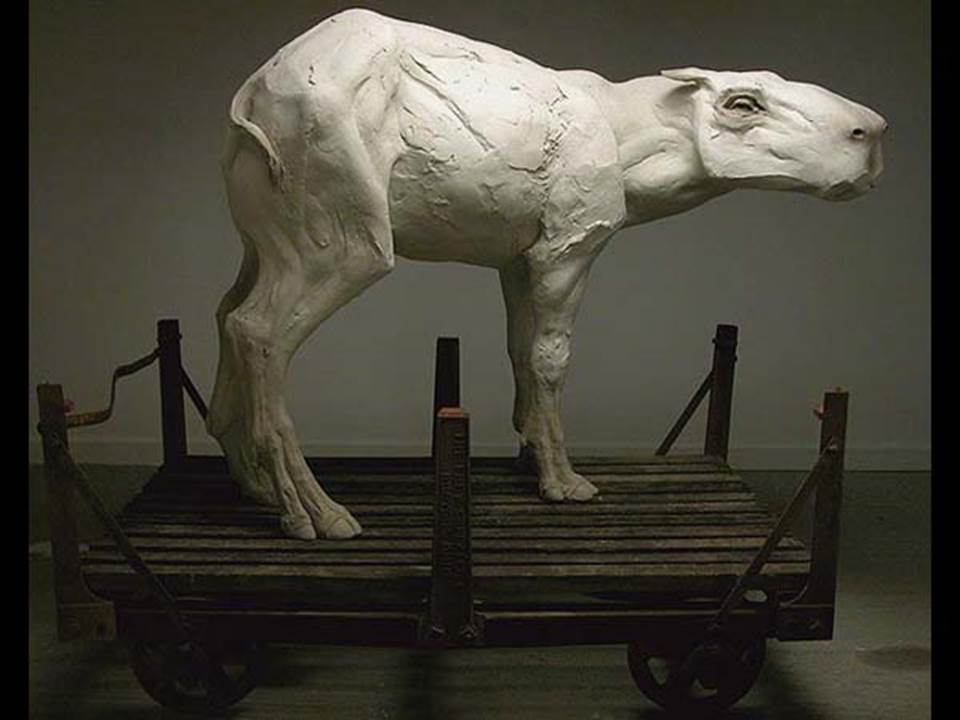
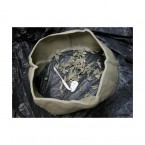
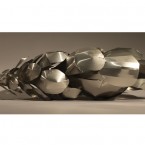
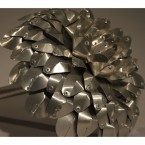
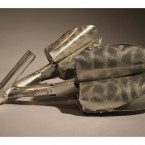
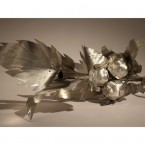
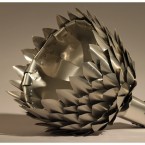
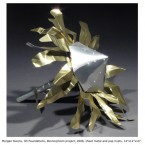
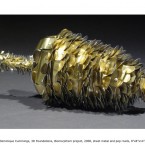
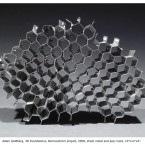
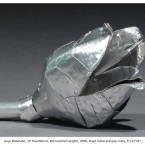
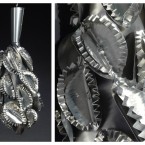
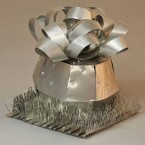
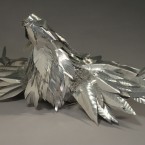
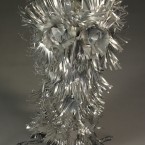
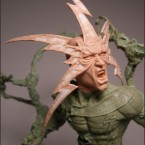
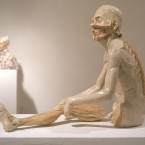
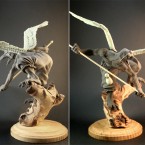
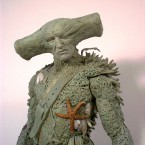
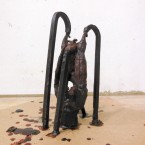
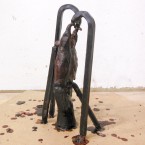
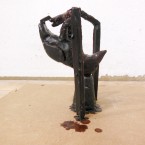
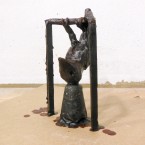
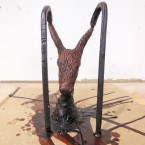
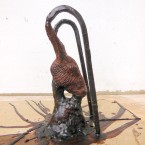
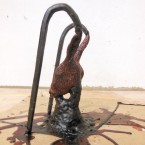
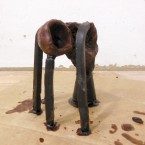
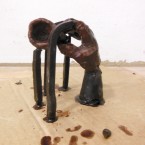
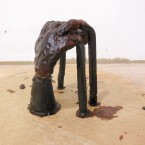
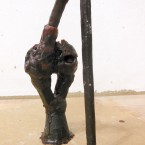
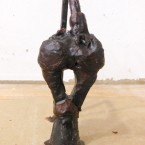
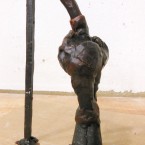
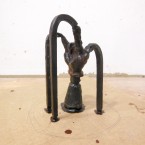
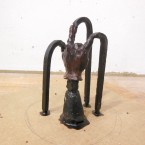
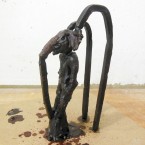
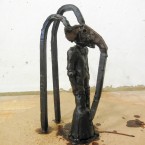
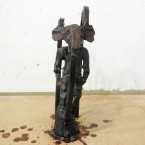
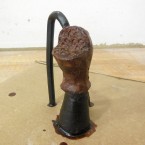
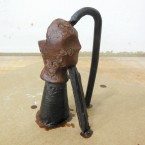
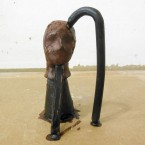
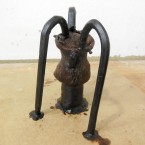
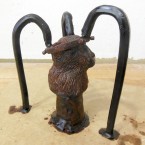
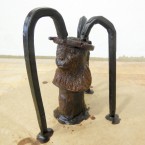
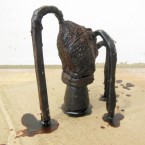
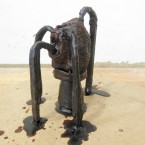
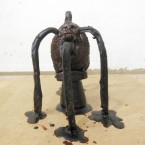
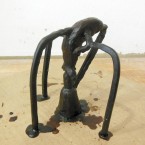
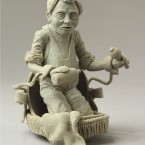
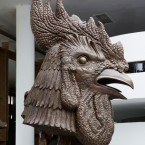
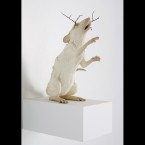
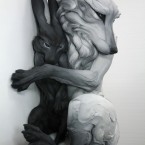
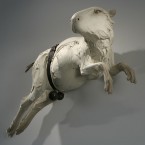
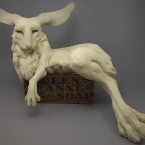
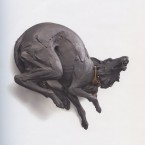
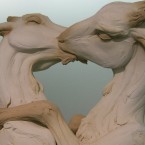
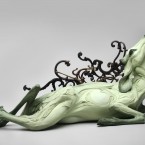
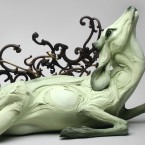
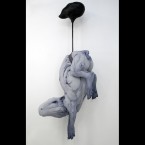
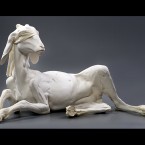
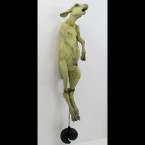
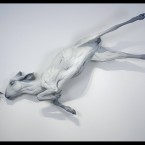
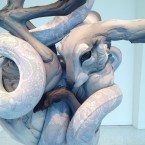
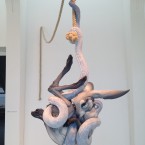
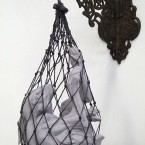
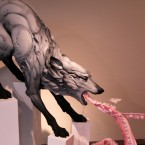
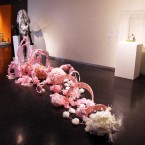
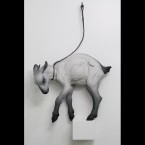
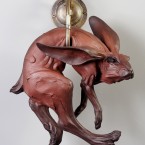
Beth Cavener-Stichter. Notice the expressiveness of the animal forms, the complex interpretations created by juxtaposed elements, and inclusion of found objects.


-
MUST BUST

Brian Moretti 
Brian Moretti 
Brian Moretti 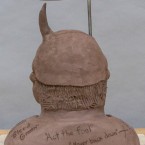
Brian Moretti 
Brian Moretti 
Can Aras 
Can Aras 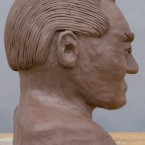
Can Aras 
Can Aras 
Ethan Wise 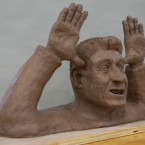
Ethan Wise 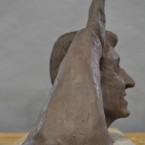
Ethan Wise 
Ethan Wise 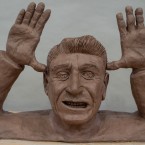
Ethan Wise 
Tori Joughin 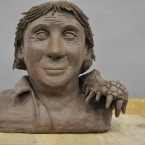
Tori Joughin 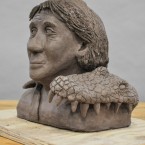
Tori Joughin 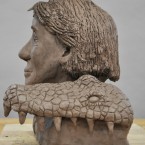
Tori Joughin 
Tori Joughin 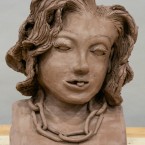
Katie Sabatino 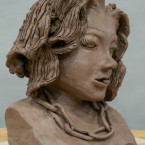
Katie Sabatino 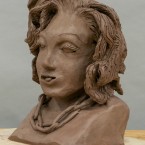
Katie Sabatino 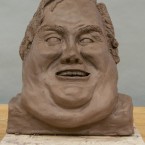
Maddie Seymour 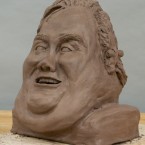
Maddie Seymour 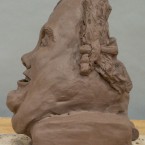
Maddie Seymour 
Maddie Seymour 
Maddie Seymour 
Maddie Seymour 
Emma 
Emma Holt 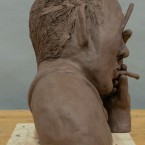
Emma Holt 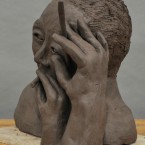
Emma Holt 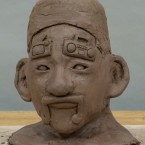
Julien Davenport 
Julien Davenport 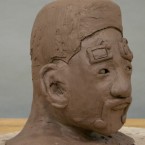
Julien Davenport 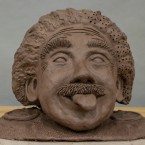
Donna Ebenstein 
Donna Ebenstein 
Donna Ebenstein 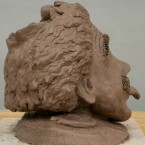
Donna Ebenstein 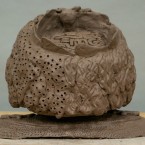
Donna Ebenstein 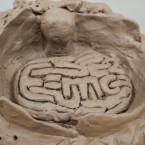
Donna Ebenstein 
Donna Ebenstein 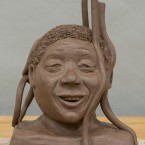
Erin Hedlund 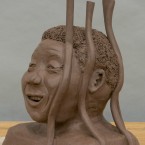
Erin Hedlund 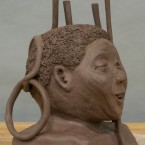
Erin Hedlund 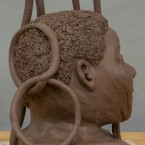
Erin Hedlund 
Tom Pham 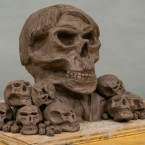
Tom Pham 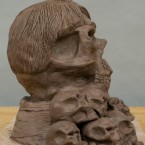
Tom Pham 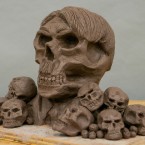
Tom Pham 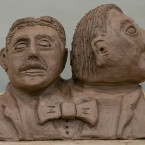
Michael Albortante 
Michael Albortante 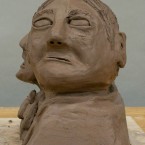
Michael Albortante 
Michael Albortante 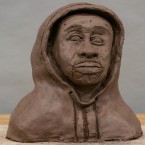
RJ Niti 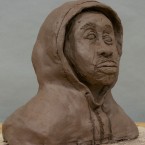
RJ Niti 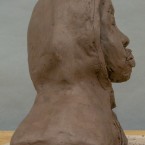
RJ Niti 
RJ Niti 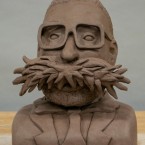
Stephanie Dressler 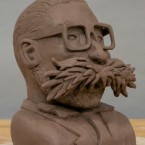
Stephanie Dressler 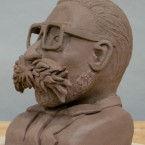
Stephanie Dressler 
Stephanie Dressler 
Julie Darwin 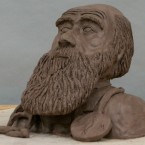
Julie Darwin 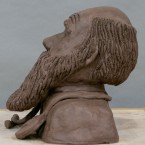
Julie Darwin 
Julie Darwin 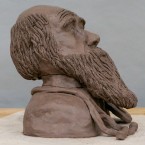
Julie Darwin
-
keypad code for the sculpture lab: 3925#
-
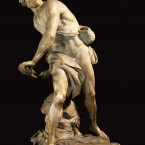
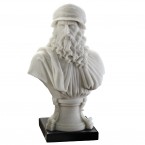
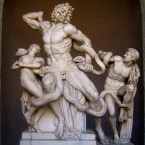
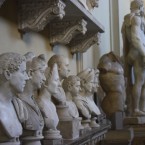
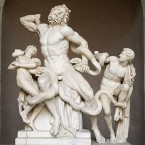
renaissance sculpture


-
Planes of the Head
Google image search for planes of the head: